Introduction
Ranbooru is an extension for the automatic111 Stable Diffusion UI. The purpose of this extension is to add a panel that gets a random set of tags from boorus pictures. This can be useful when testing a new model or to try multiple concepts without the need of writing different prompts manually. The extension evolved a lot since it's origin, so I decided to write a tutorial to explain everything you can do with it!
Installation
To install the extension just open the Automatic1111 UI and follow these instructions: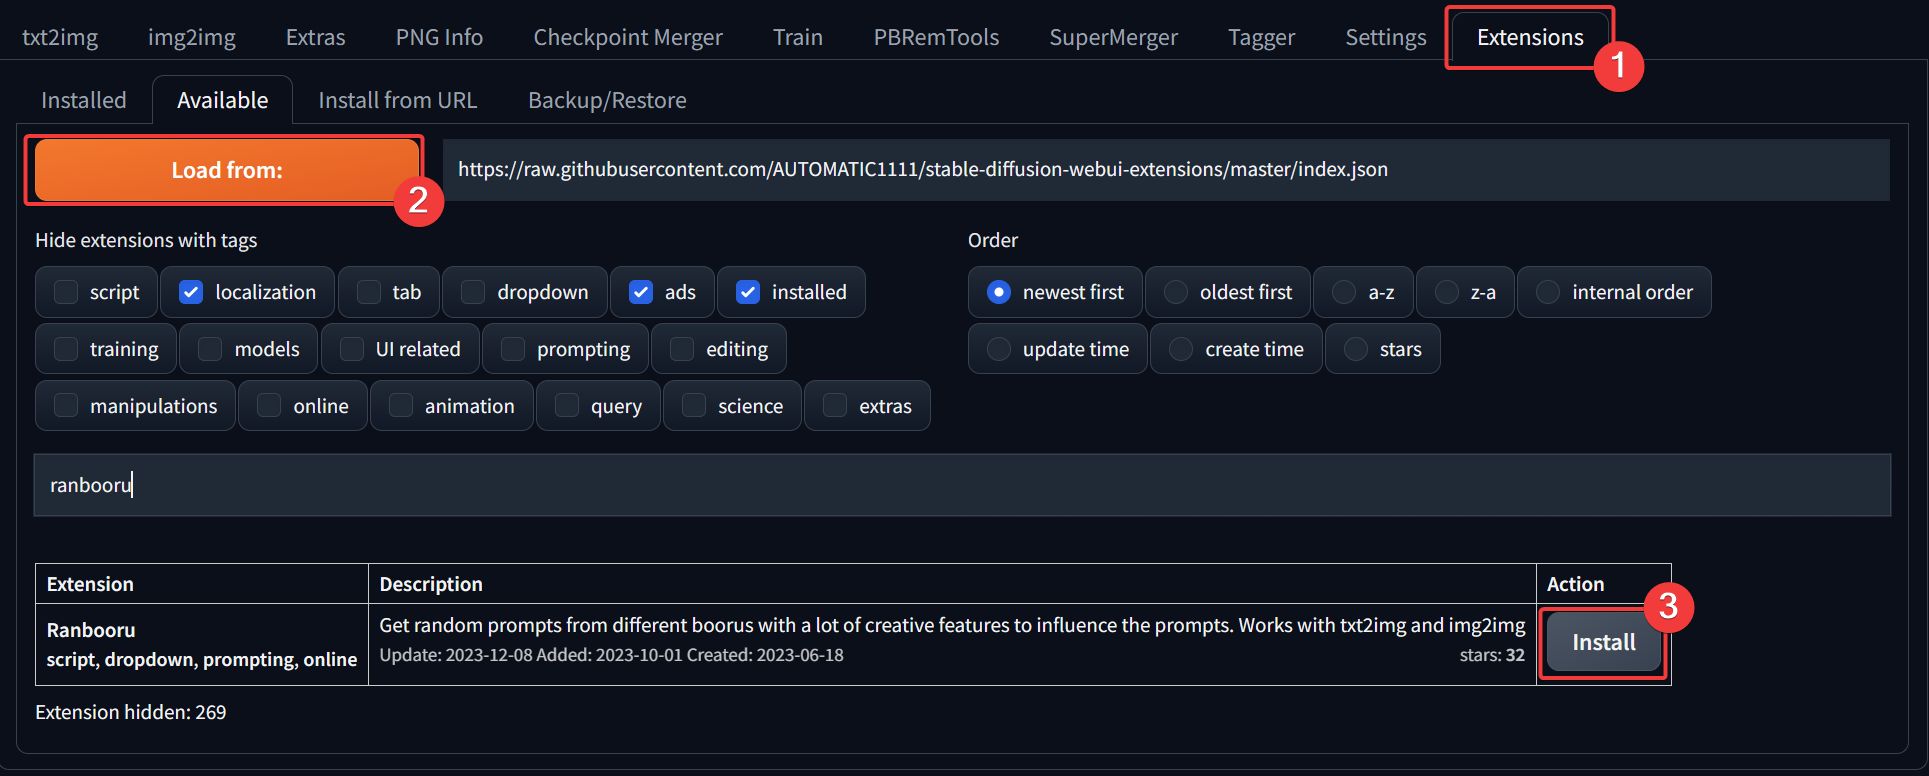
- Select the Extensions tab
- Click on Load From and wait for the list to load
- Find ranbooru (you can use the filter) and click on Install
- Wait for the installation to complete
- Restart the UI (I recommend to close the terminal and run it again)
Components Deep Dive
In the following subparagraphs we are going to take a look at every component available in the extension. If you just want to learn about the general usage, feel free to skip ahead.
General
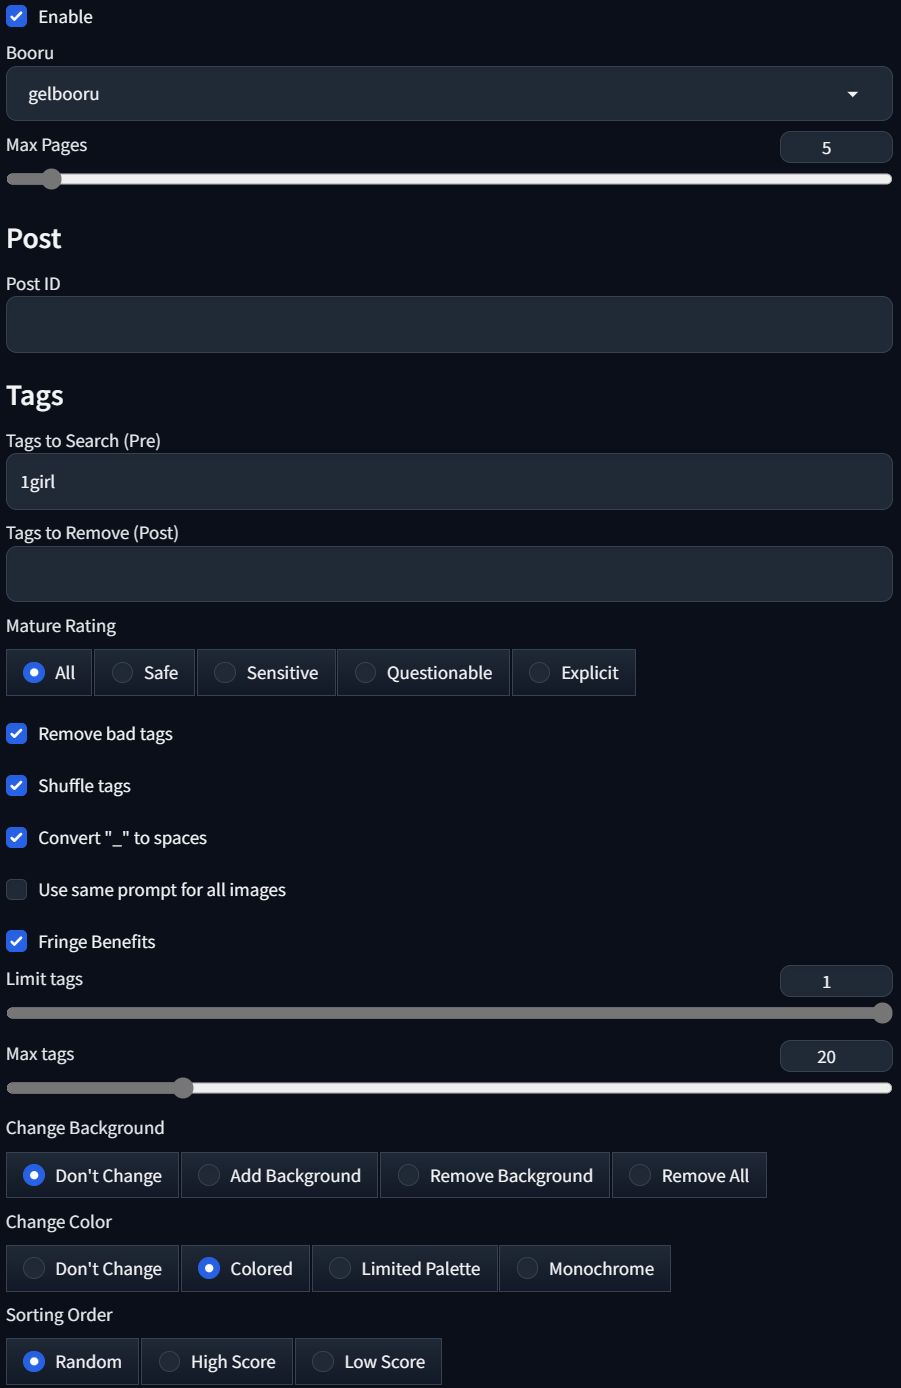
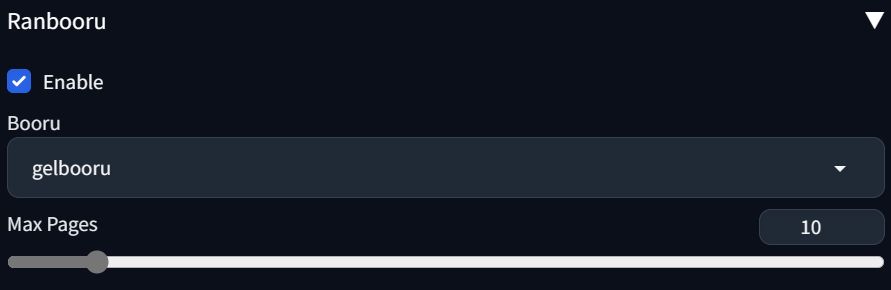
- Enabled: Enables the Ranbooru part of the extension
- Booru: The booru to get the tags from. Right now Gelbooru, Rule34, Safebooru, yande.re, konachan, aibooru, danbooru and xbooru are implemented. You can easily add more creating a class for the booru and adding it to the booru list in the script.
- Max Pages: The maximum amount of pages to get the tags from. The extension will get a random page from the booru and then get the tags from one or more random pictures from that page.
- Post ID: Here you can specify the ID of the post to get the tags from. If you leave it blank, the extension will get a random post (or more than one) from the random page.
- Tags to Search (Pre): This add the tags you define (this should be separated by commas e.g: 1girl,solo,short_hair) to the search query. This is useful if you want to get tags from a specific category, like "1girl" or "solo".
- Tags to Remove (Post): This remove the tags you define (this should be separated by commas e.g: 1girl,solo,short_hair) from the result query. This is useful if you want to remove tags that are too generic, like "1girl" or "solo". You can also use with any tag to remove every tags which contains the related word. e.g: hair will remove every tag that contains the word "hair".
- Mature Rating: This sets the mature rating of the booru. This is useful if you want to get only SFW or NSFW tags. It only works on supported boorus (right now it has been tested only on Gelbooru).
- Remove Bad Tags: This remove tags that you usually don't need (watermarks,text,censor)
- Shuffle Tags: This shuffle the tags before adding them to the text.
- Convert "" to Spaces": This convert to spaces in the tags.
- Use the same prompt for all images: This use the same prompt for all the generated images in the same batch. If not selected, each image will have a different prompt.
- Limit Tags: This limits the number of tags to use in percentage of the original tags. For example, if you set it to 50, it will use only half of the tags.
- Max Tags: This limits the number of tags to use.
- Change Background: This tries to change the background of the parsed tags by adding or removing specific tags
- Change Color: This tries to change the color of the parsed tags by adding or removing specific tags
- Sorting Order: This orders the result of the scraped pictures by high or low score and make it more or less likely to get a high or low score picture. This is applied AFTER the results are scraped, because you cannot use the API to search for high ranking pictures.
Img2img
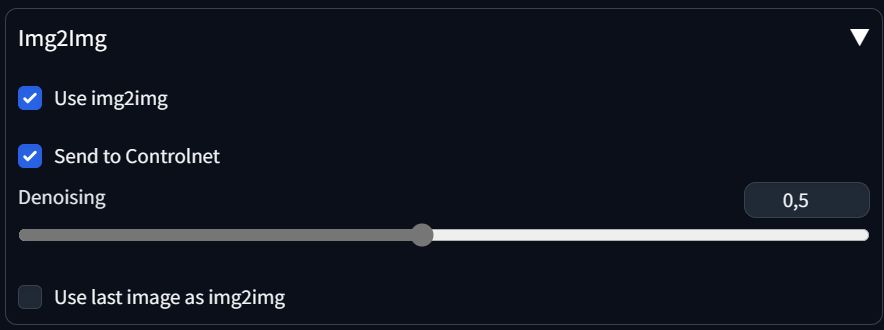
- Use img2img: This uses not only the tags from the random image, but also the original picture to generate the final result.
- Send to controlnet: This sends the first image of the batch to the controlnet. (Requires a dummy image selected inside the controlnet panel)
- Denoising Strength: This is the strength of the denoising filter. The higher the value, the more the picture will change from the original.
- Use last image as img2img This uses the same picture for all the img2img generations in the same batch.
File
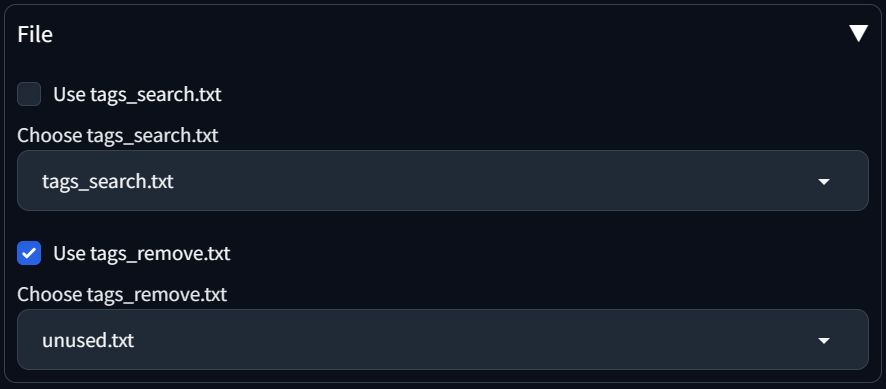
- Use tags_search.txt: This uses the tags from the specified file in the scripts folder. This is useful if you want to use a specific set of tags.
- Choose tags_search.txt: This is the file to use with the tags_search.txt option. You can add new files in the stable-diffusion-webui\scripts\ranbooru folder.
- Use tags_remove.txt: This removes the tags from the specified file in the scripts folder. This is useful if you want to remove a specific set of tags.
- Choose tags_remove.txt: This is the file to use with the tags_remove.txt option. You can add new files in the stable-diffusion-webui\scripts\ranbooru folder.
Extra
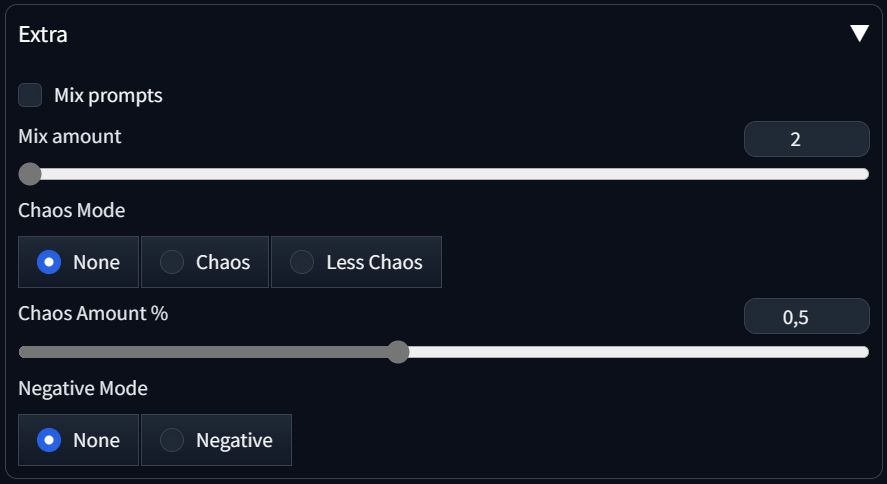
- Mix Prompts: This mixes tags from different random images.
- Mix Amount: This sets the number of pictures to grab random tags from.
- Chaos Mode: This mixes the tags between the positive and negative prompt. If set to Less Chaos, it won't move the tags you insert in the negative prompt.
- Chaos Amount: This sets the percentage of tags to move to the negative prompt.
- Negative Mode: This moves all the tags to the negative prompt.
Getting Started
Basic Usage
The most basic usage of Ranbooru can be summarized as follow:
- Enable the extension
- Select a Booru from the dropdown
- Run the prompt
This will search the first 1,000 results from the booru you've selected and pick 1 or more prompts (based on the Batch size and count) at random from the parsed results.
Example
And here's some results: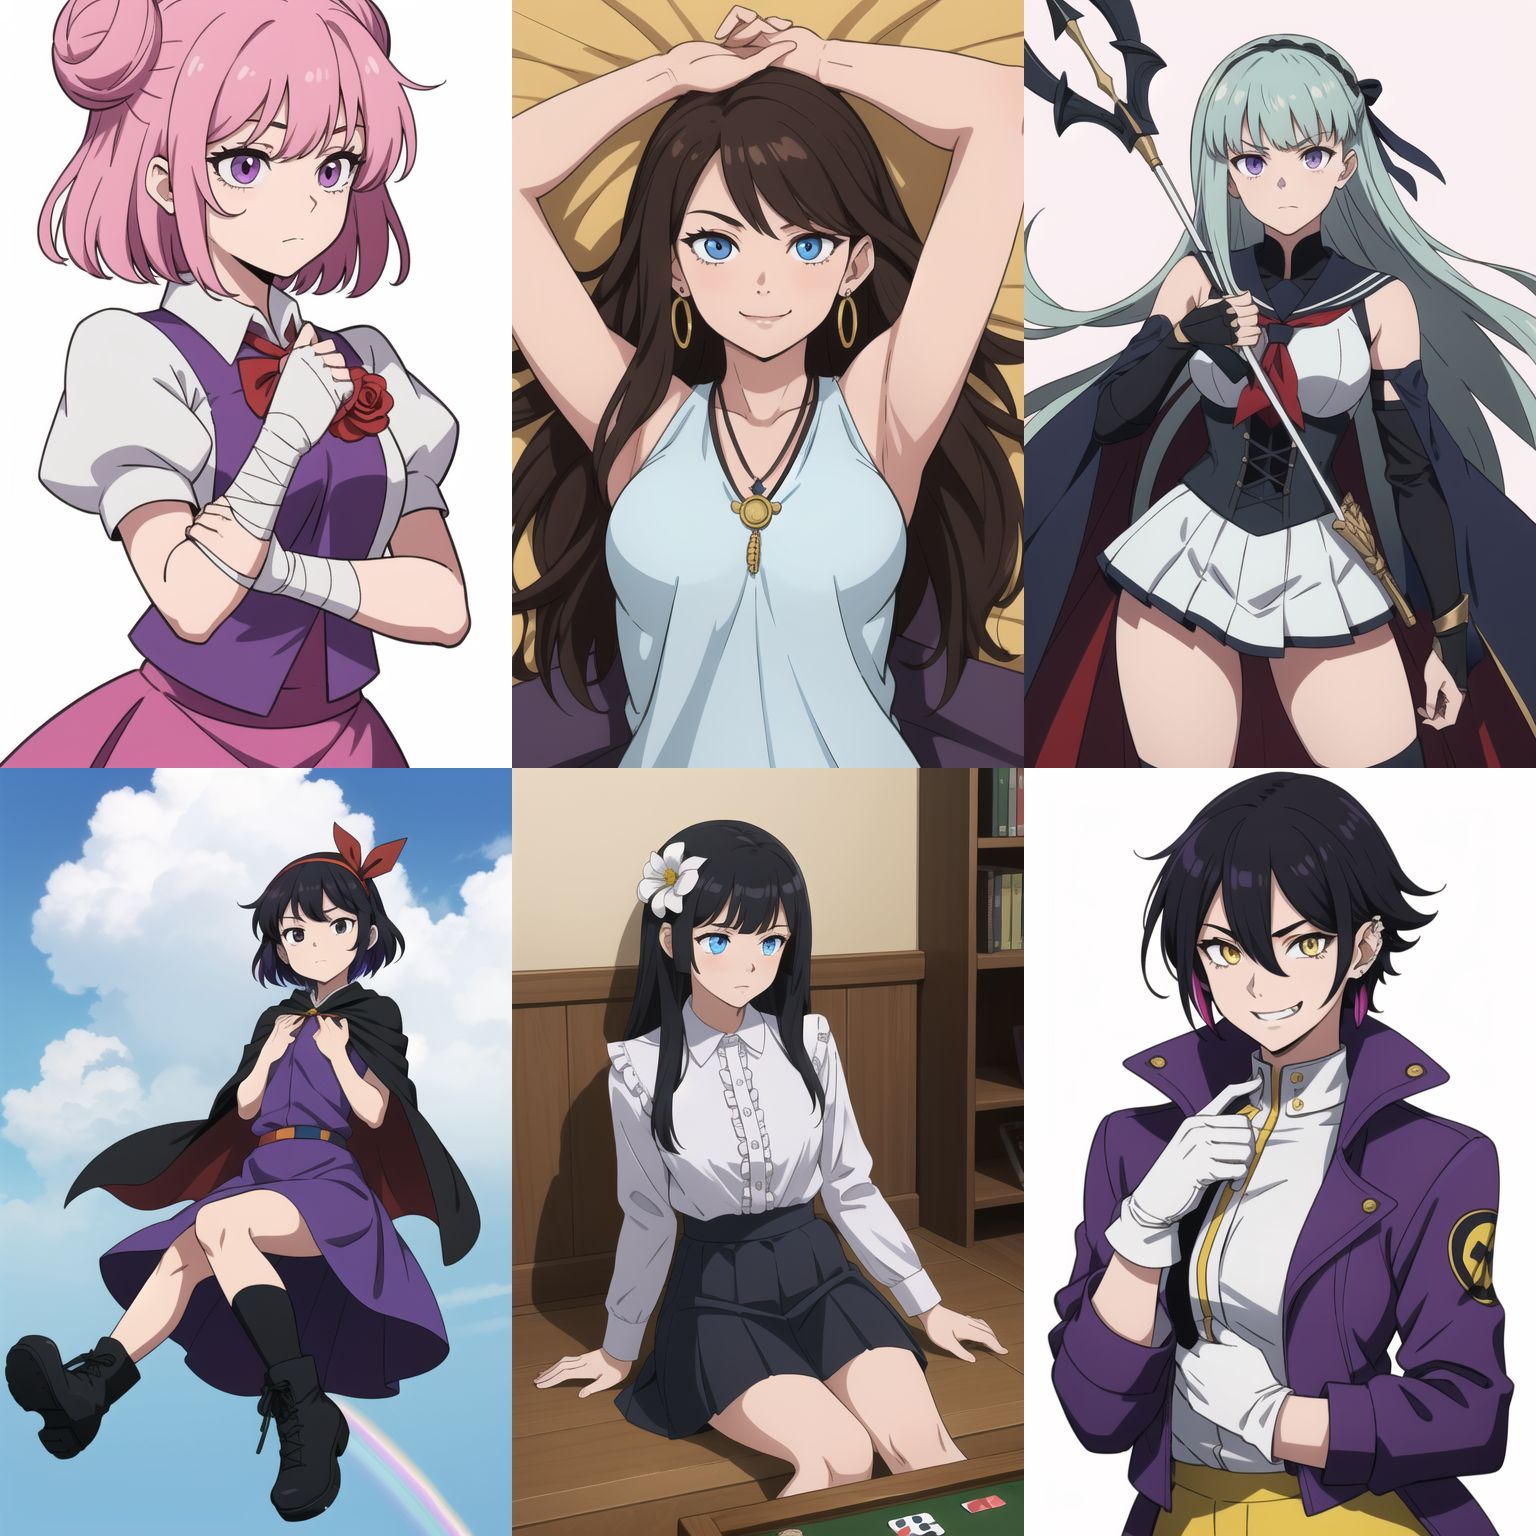
Using a specific ID
To use a specific ID you just need to browse the booru you are using, choose an ID and insert it inside of the "Post ID" field:
This will work for everything:
- txt2img
- img2img (explained below)
- Send to Controlnet (explained below)
Here's the result: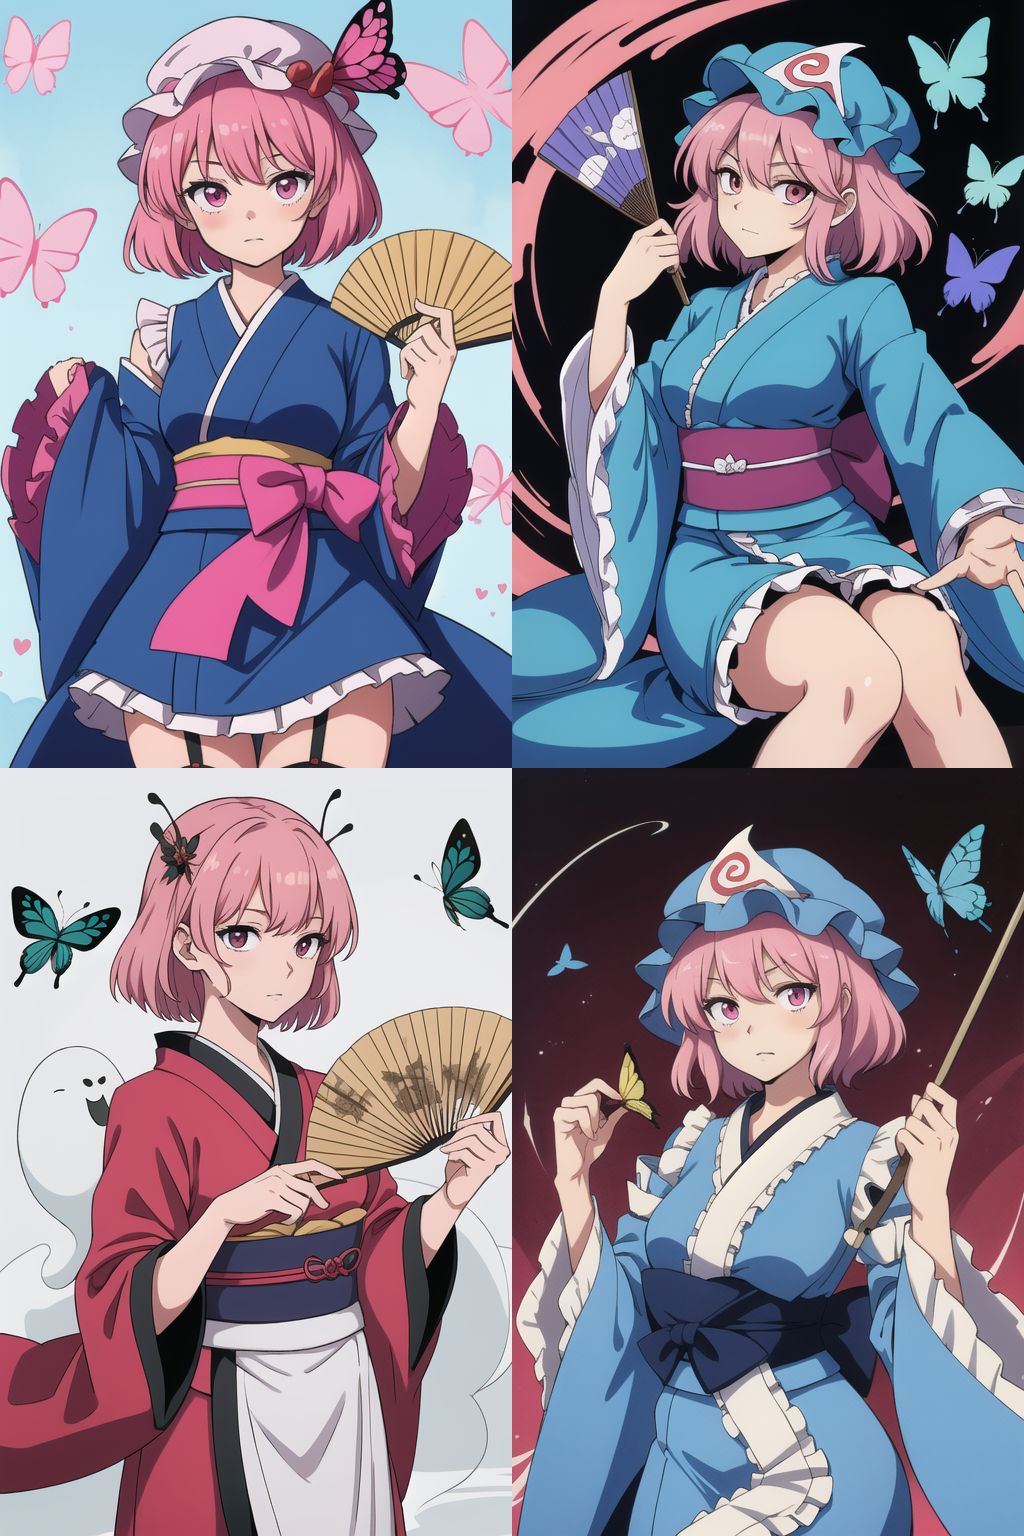
Let's Search for Something
What if we want to search for some specific tags? Let's say that we want to search for a specific tag, we just need to add this in the "Tags to search (pre)" box, for example I'm going to search for saigyouji_yuyuko:
The syntax for writing tags inside of this box is the same of the one used on boorus with the only difference that you need to separate the tags using a comma (,) and not a space.
Running the query will get something like this: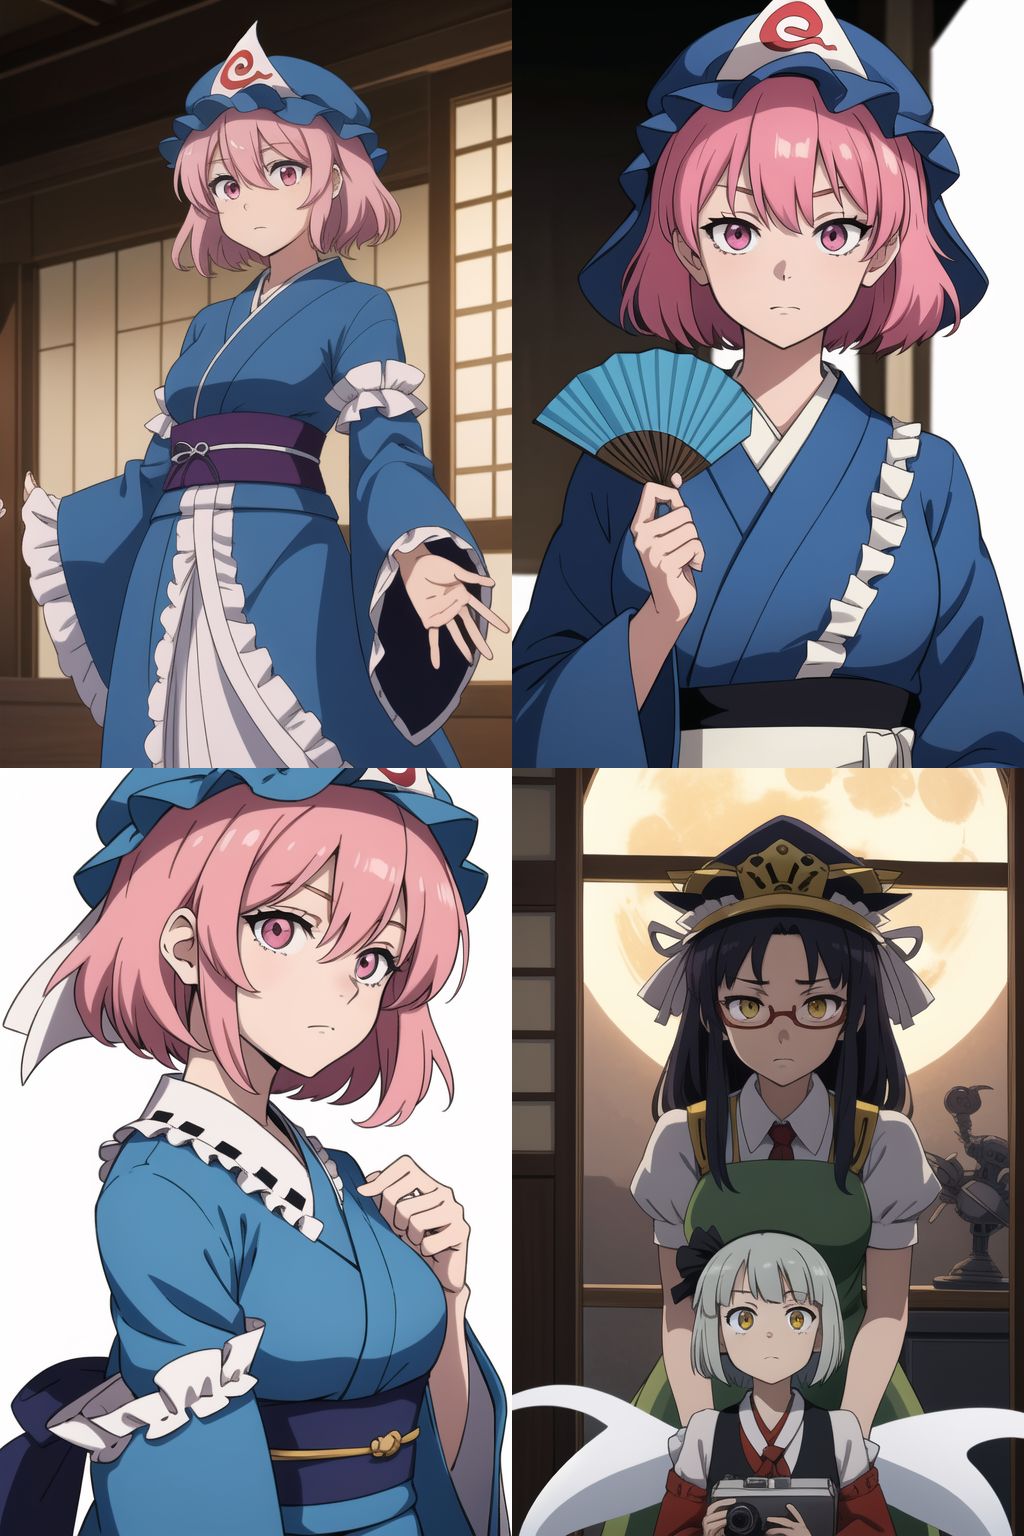
This looks nice, but I want to be sure that only one character is represented inside of the picture. Let's add solo to the prompt:
Now if I run the prompt again I should get only the character I want: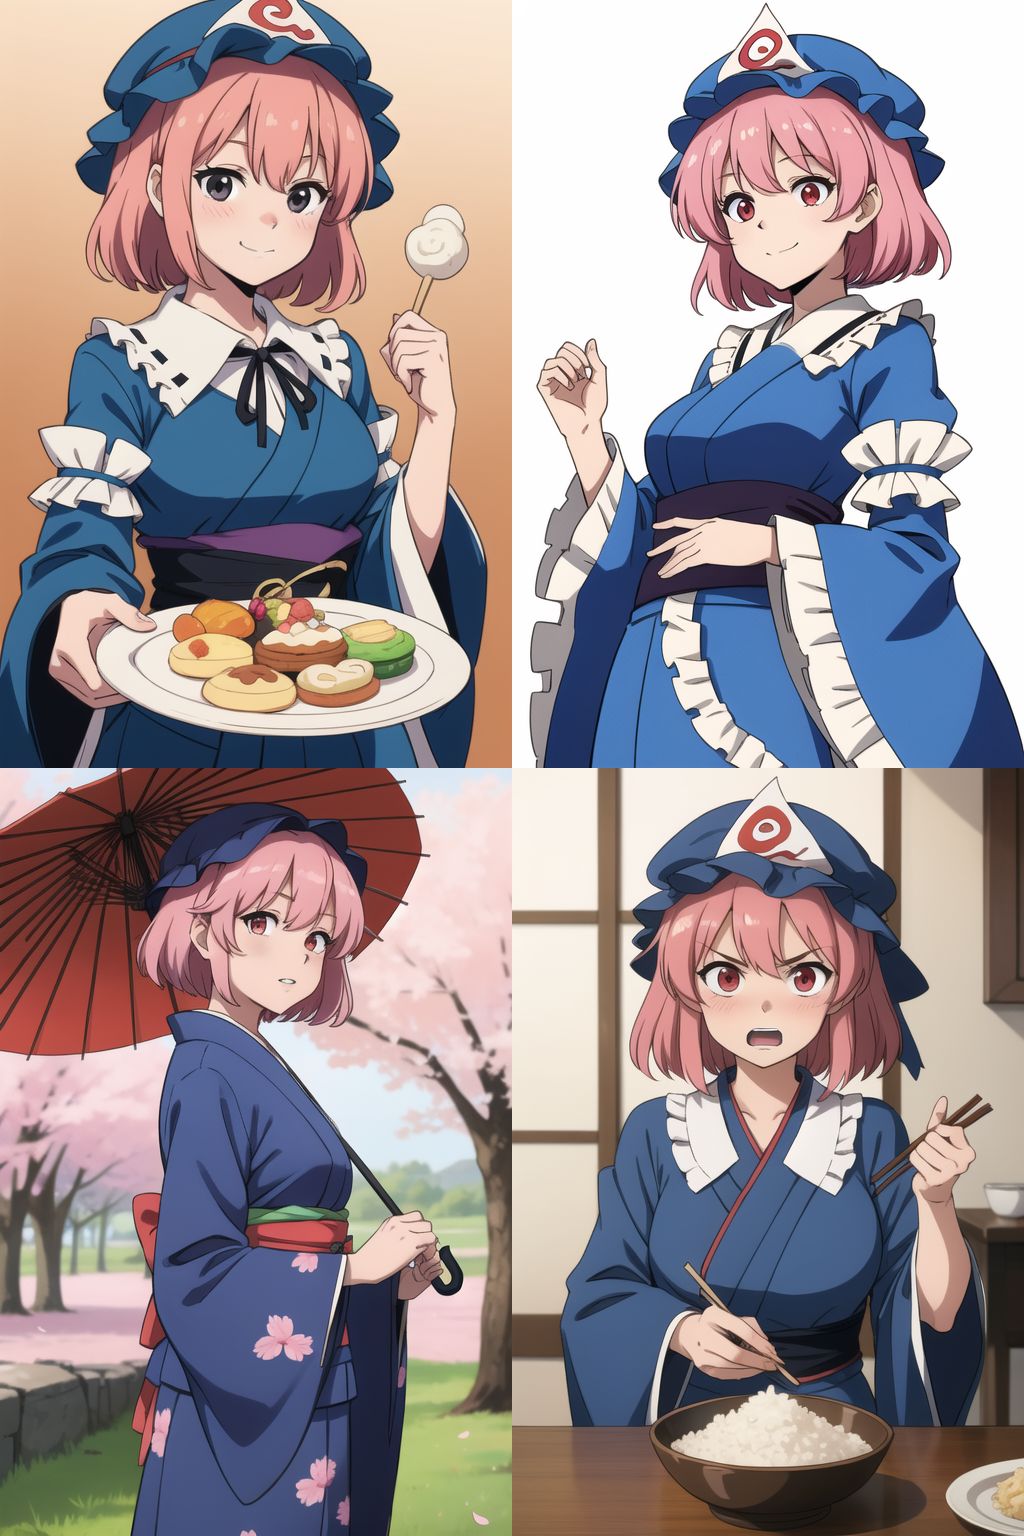
Let's try adding some negative terms to the query. For example, I want to exclude all the pictures that have a simple_background:
Keep in mind that this will filter the search results, so you'll get less results from the booru! Here's a sample: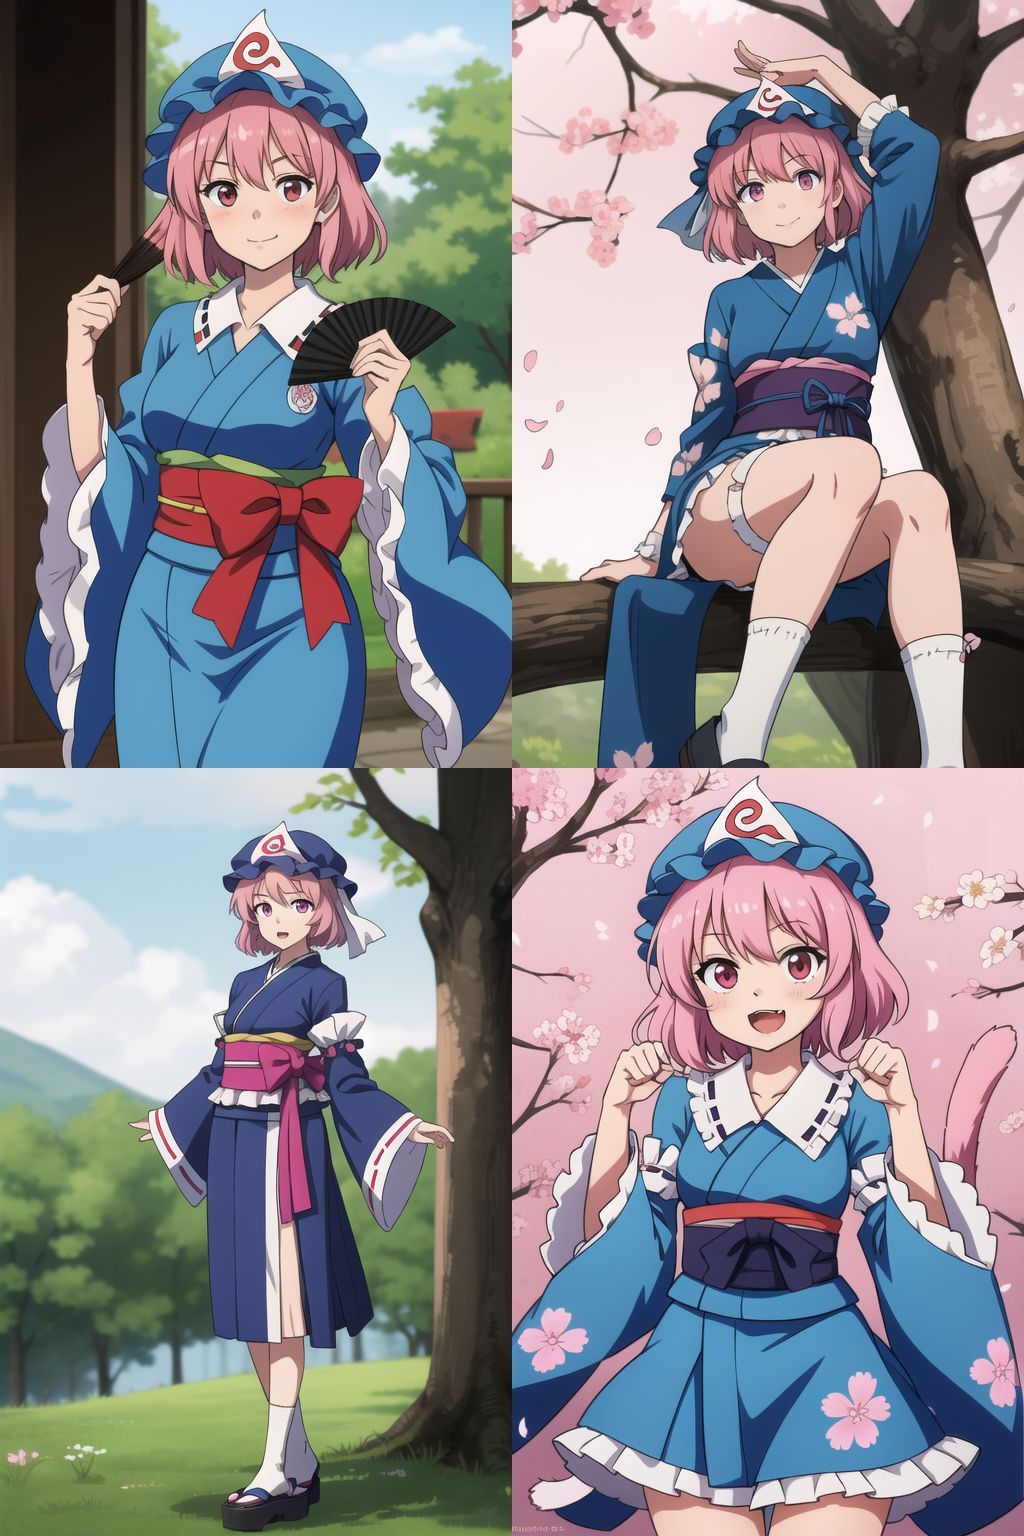
Let's finetune again the prompt. I want to remove the hat from the results, so let's add hat to the "Tags to Remove (Post)" section:
By doing this we will get: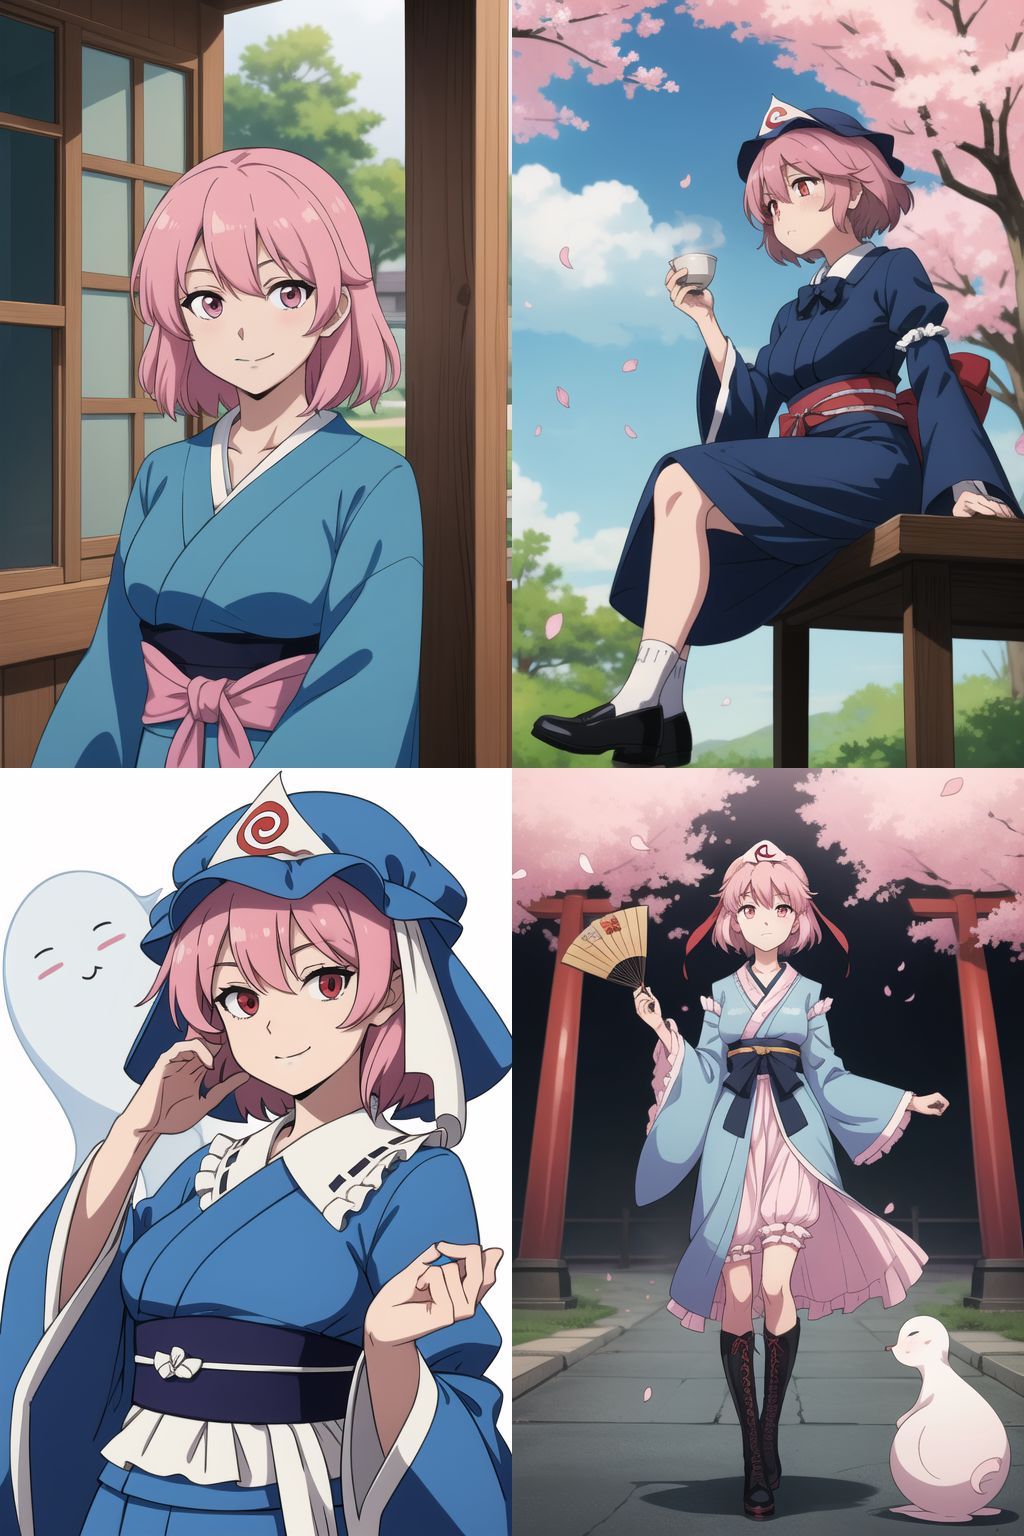
As you can see only one picture out of 4 does not contain the hat. This is because there are other tags which are related to the hat. We can use the asterisk to remove everything that contains a specific keyword. Let's try this prompt:
This will remove all the tags containing: hat, head and cap. Here's the result: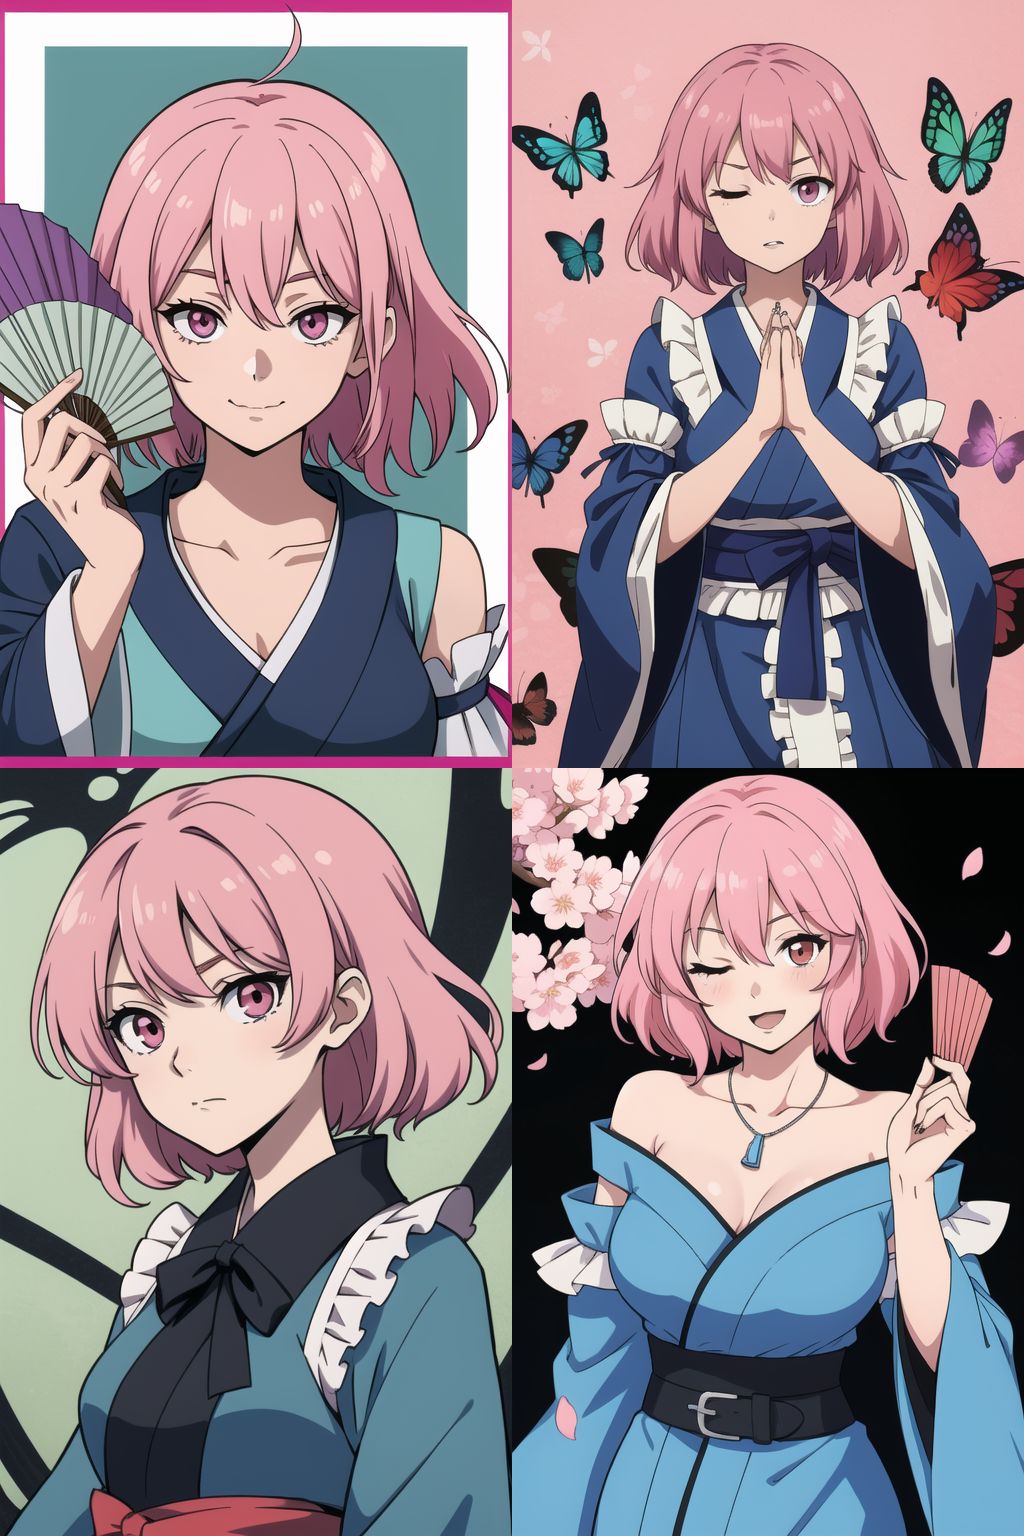
Finally, for this prompt, I'd like to change the hair color to black. To do this, we can add the *pink tag to the tags to remove and then add black hair in the UI prompt:

And these are the final results: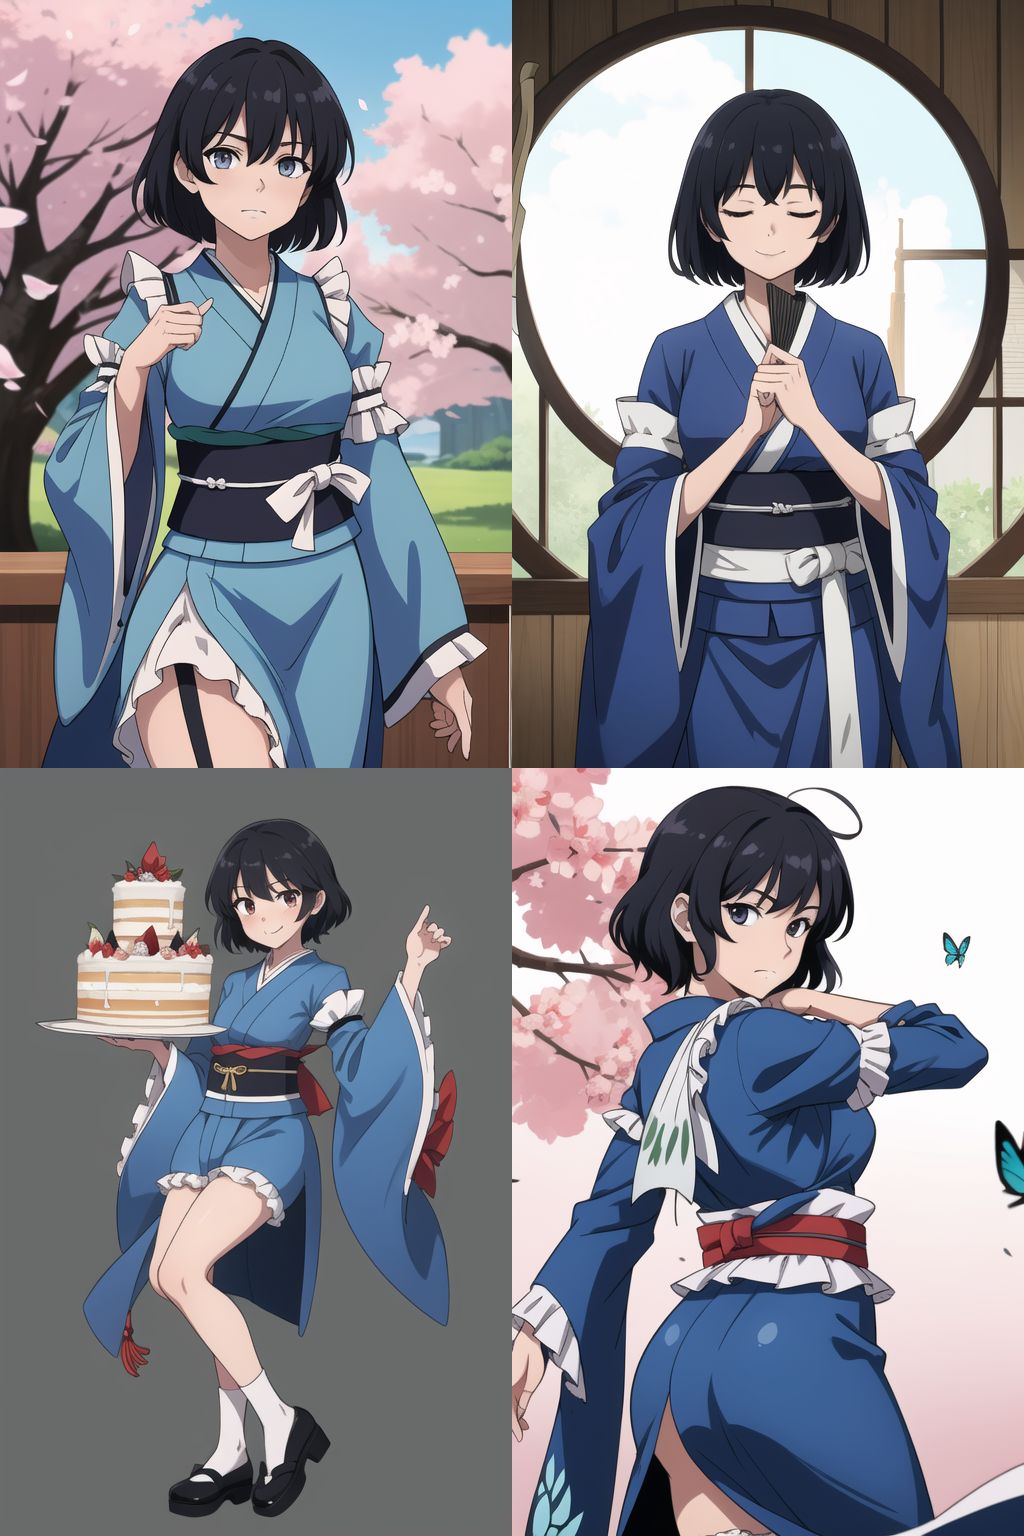
Mature Ratings
Another thing that we can change while searching is adding a Mature Rating. For example if you run a standard search without changing the rating, you'll get a mixture of SFW/NSFW pictures: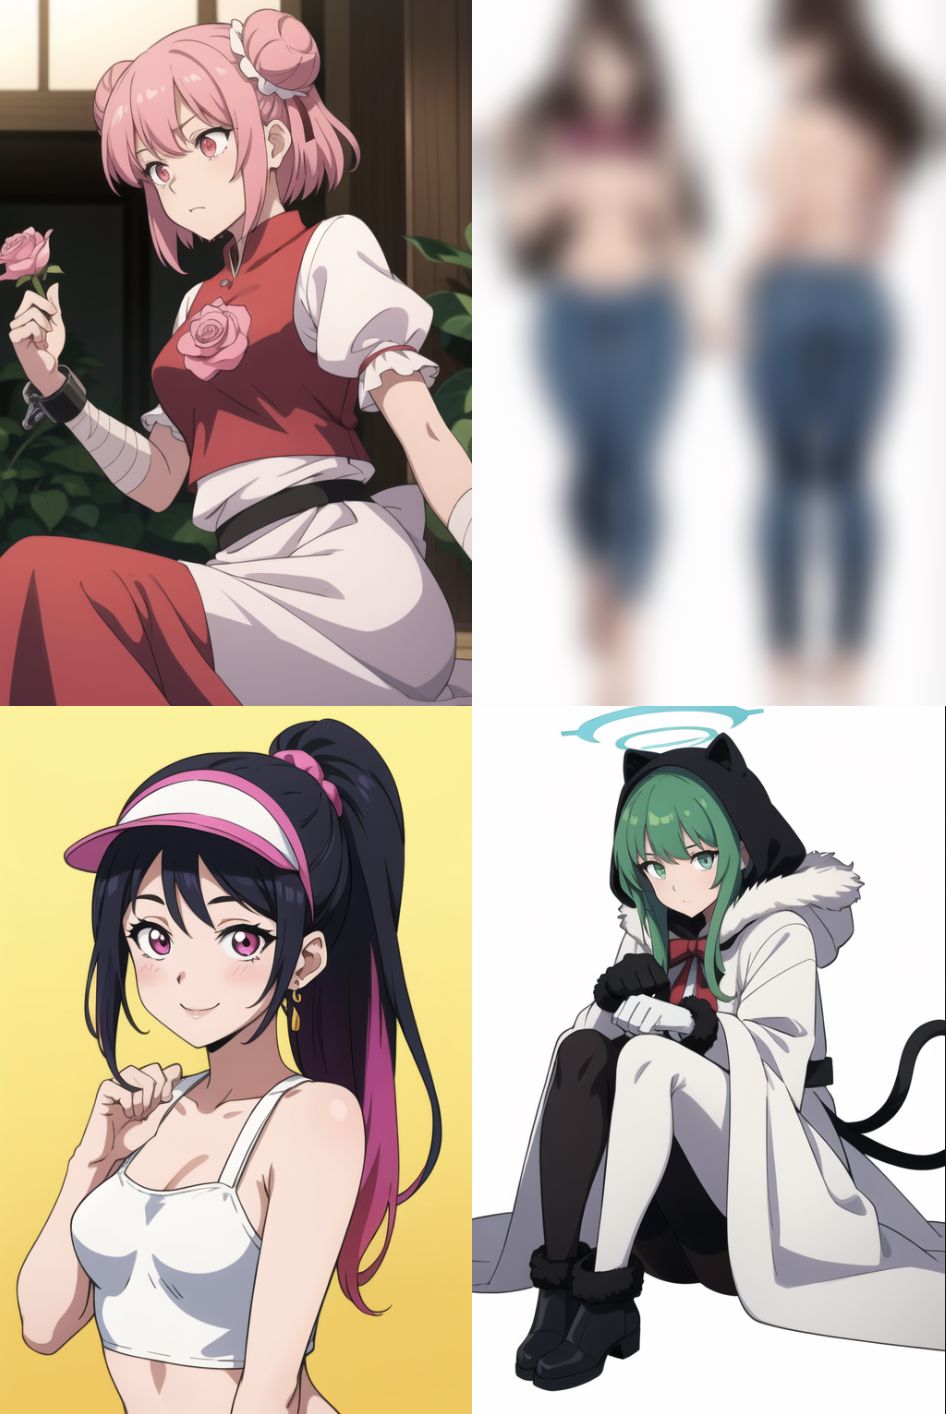
If you want to filter out NSFW pictures (or you want just those), you just need to set the "Mature Rating" radio box:
By doing this, you'll search the Booru for only the specified ratings. Keep in mind that NSFW pictures could still be generated depending by the model used.
Keeping the prompt clean
Ranbooru has a tag filter already implemented enabled by default (the "Remove Bad Tags" checkbox). This removes most of the text and censor related tags from the final prompt (these are not filtered from the actual Booru search, but only removed before running the prompt). You can still add more tags to filter in two different ways:
- Using the "Tags to Remove (Post)" as explained before
- Adding the tags in a file inside of the following path: /stable-diffusion-webui/scripts/ranbooru/remove
Here's an example of the second option: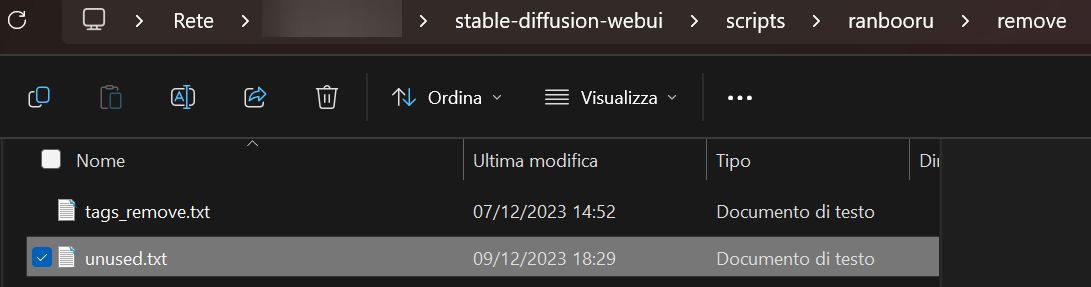
And here's the content of the file:
Once you've created the file, you can select the one you want to use by going in the "File" panel of the extension, choose "Use tags_remove.txt" and select the file you've just created (you'll need to restart the UI if the file is new. This is not needed if the file has been updated)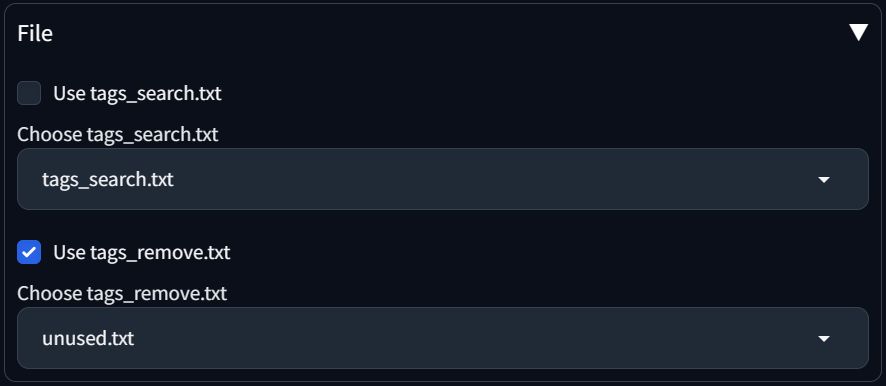
You can also do the same thing for the search terms by adding a file in the search folder.
Generate multiple pictures with a single prompt
If you want to generate multiple variants using a single prompt instead of multiple ones, you can flag this option:
When flagged, all the pictures created in the same execution (both for Batch count/size) will use a single prompt, for example: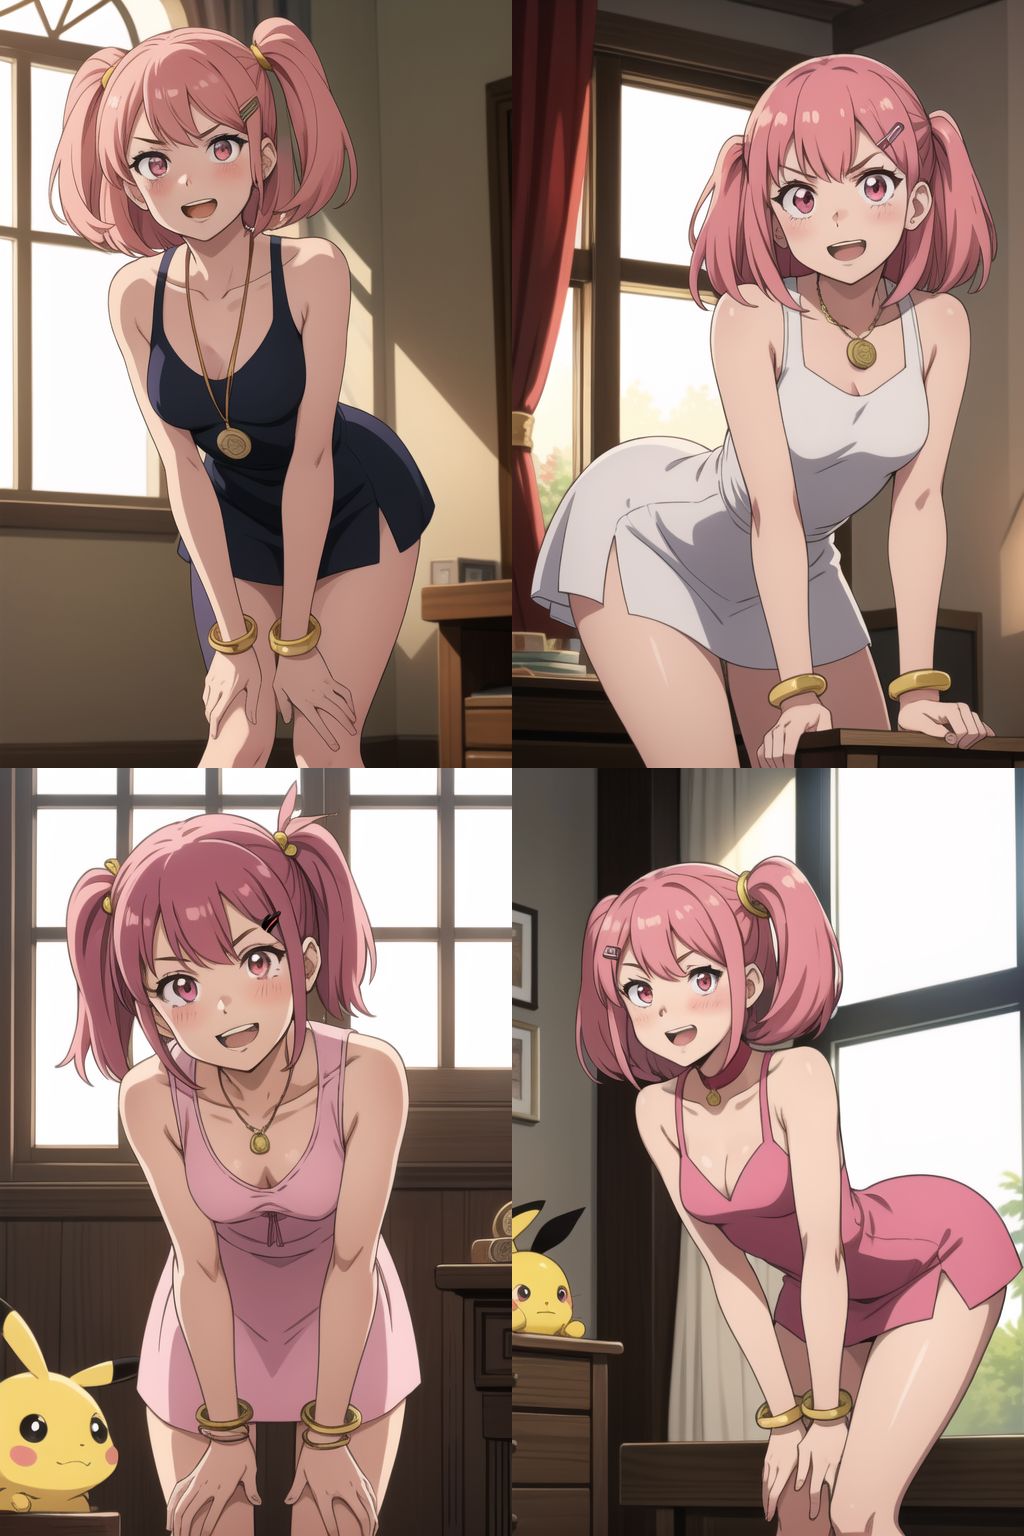
You can see that all the pictures have similar compositions because they are sharing the same prompt.
Tags Limiting
By default Ranbooru accepts 100 different tags as shown by these two sliders:
In some cases you'll want to have less tags, as it can help to generate cleaner and more coherent pictures. You have two choices:
- Limit tags: This will remove random tags from the prompt based on a percentage value. For example, if you choose 0.5 as a value, this will remove half of the tags available in the prompt
- Max tags: This will remove random tags based on a threshold. For example if the parsed prompt has 23 tags and you choose 20, this will remove 3 tags at random.
This feature can also lead to generating variations for a single prompt. For example if I limit the tags to 10 and select "Use same prompt for all images" I'll get something like these: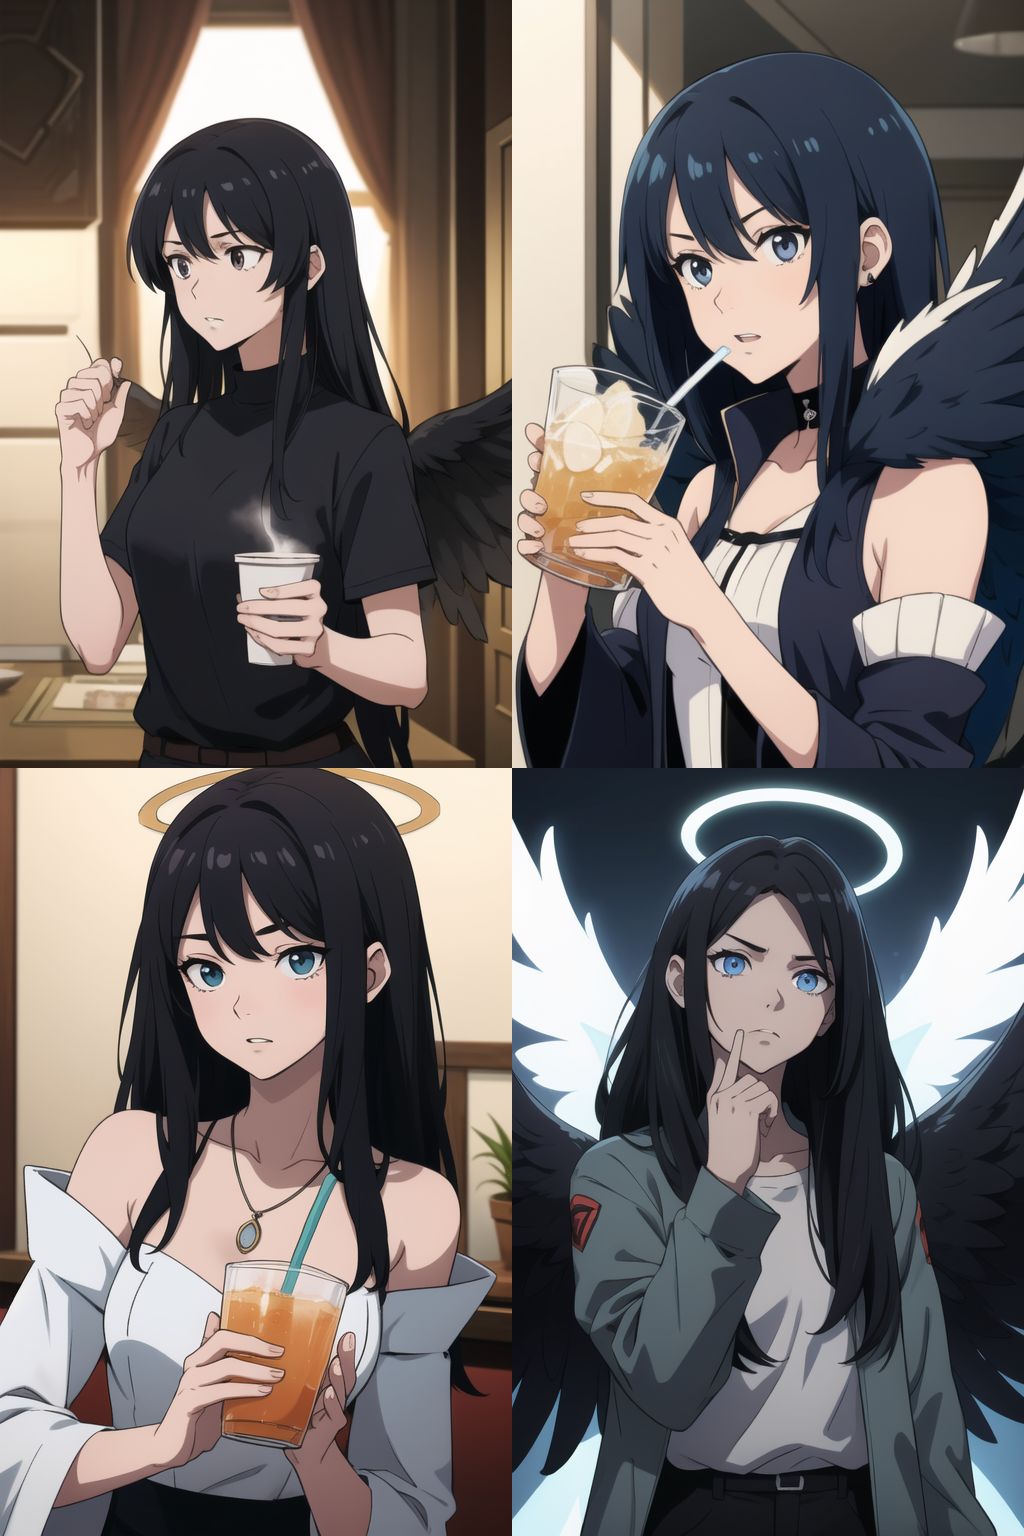
As you can see these pictures are different even if they share the same prompt. This is due to the fact that for each picture different tags have been removed.
Changing Color/BG
Another useful feature available is the possibility to change the color or background of a picture without having to write tags: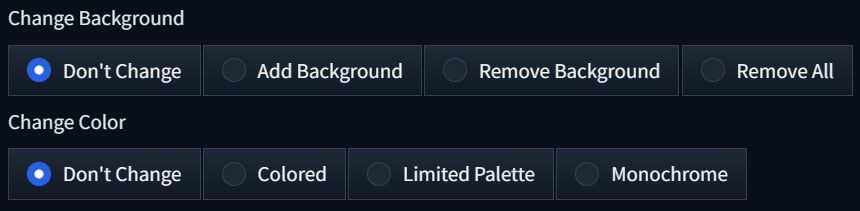
For example if I select:
- Remove Background
- Limited Palette
I'll get results similar to these: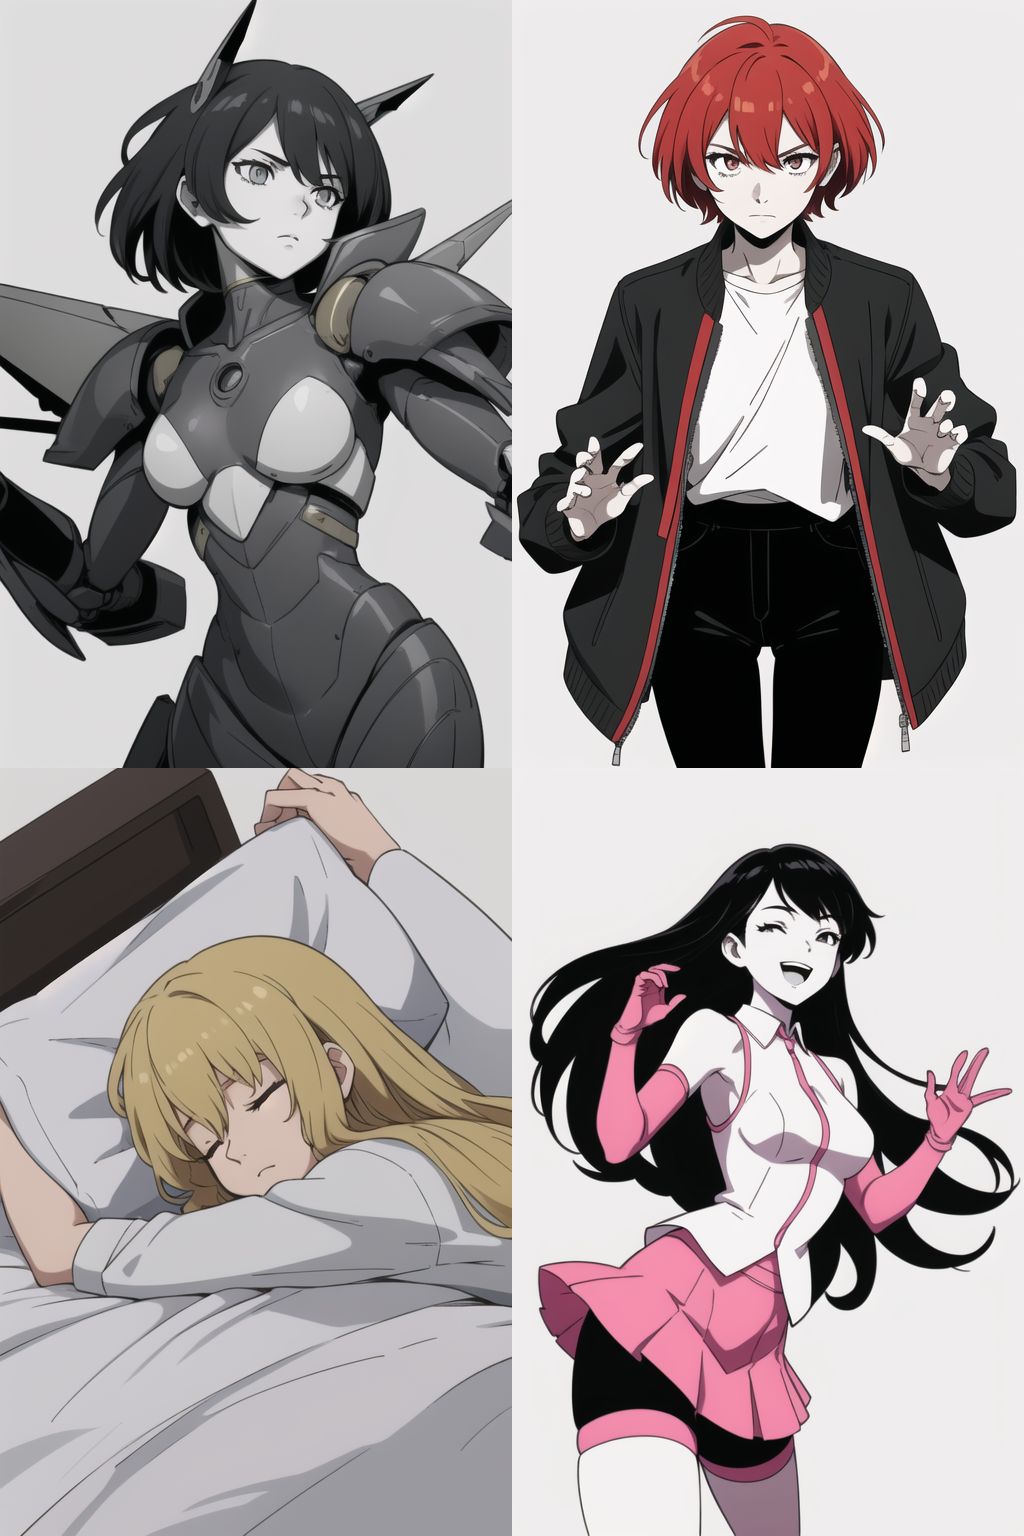
This option can help searching for specific tags without having to worry about coloring and background tags.
Running img2img
Other than using the prompt, you can also use the picture you parse from the booru to run an img2img over it. To do this you just need to go to the img2img tab, enable it, and choose the denoising strength: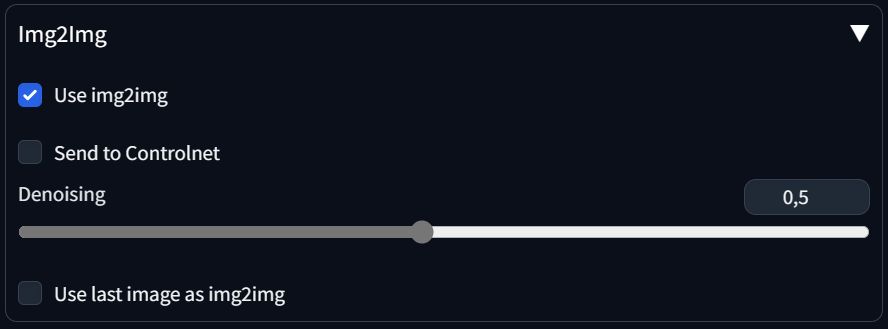
Keep in mind that when using a batch size greater than 1, the actual ratio of the picture (squared,vertical,horizontal) will be based on the last picture parsed (as far as I know is not possible to do different sizes inside of the same batch). Here's an example using the settings above:
If you want you can also use only the last image to run the img2img, by flagging the "Use last image as img2img" flag. This will help keep consistency in the ratio: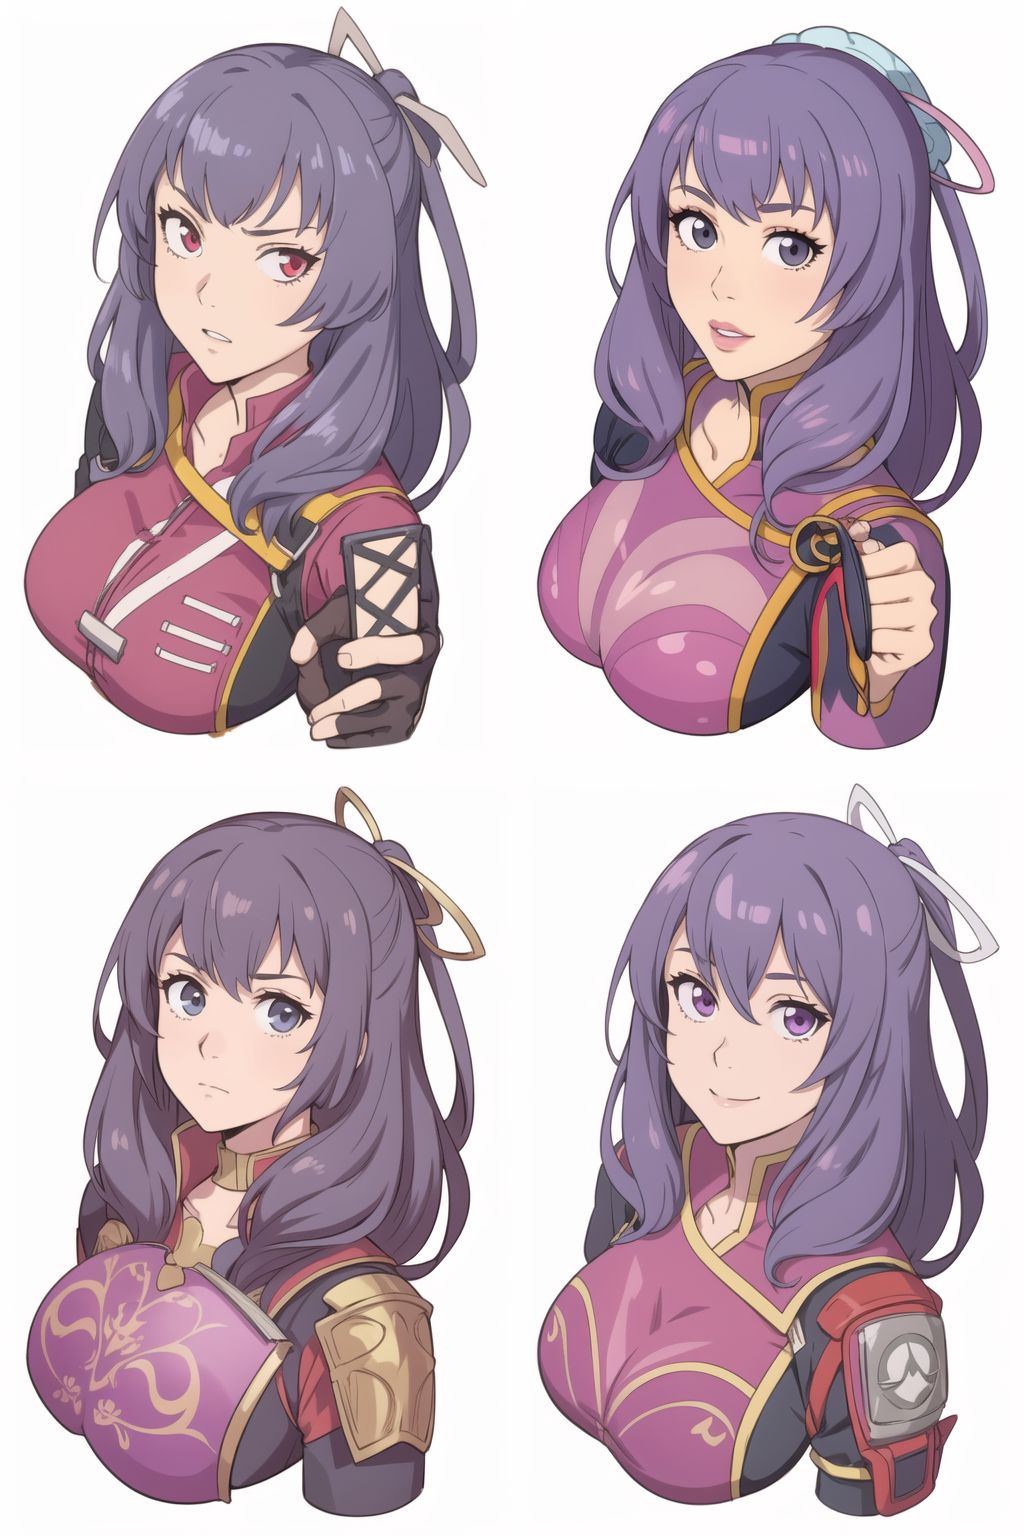
Send to Controlnet
You can also use the img2img tab to send the picture to the controlnet instead of passing it to the img2img processor. When flagged, the denoising strength bar will work as a controlnet amount slider: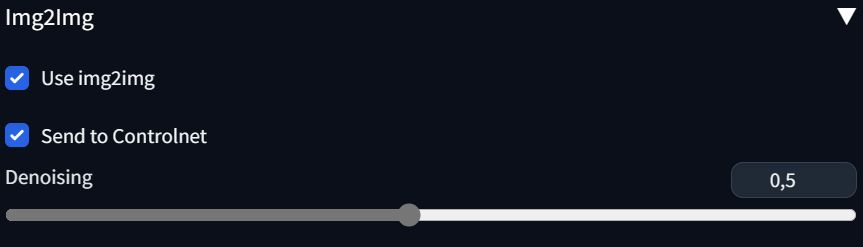
In this case I'm passing the picture to the controlnet with an amount of 0,5.
You'll also need to specify a controlnet to use and also pass a dummy image (because right now I've not found a way to make the code work without it).
Se for example let's use an IP-Adapter: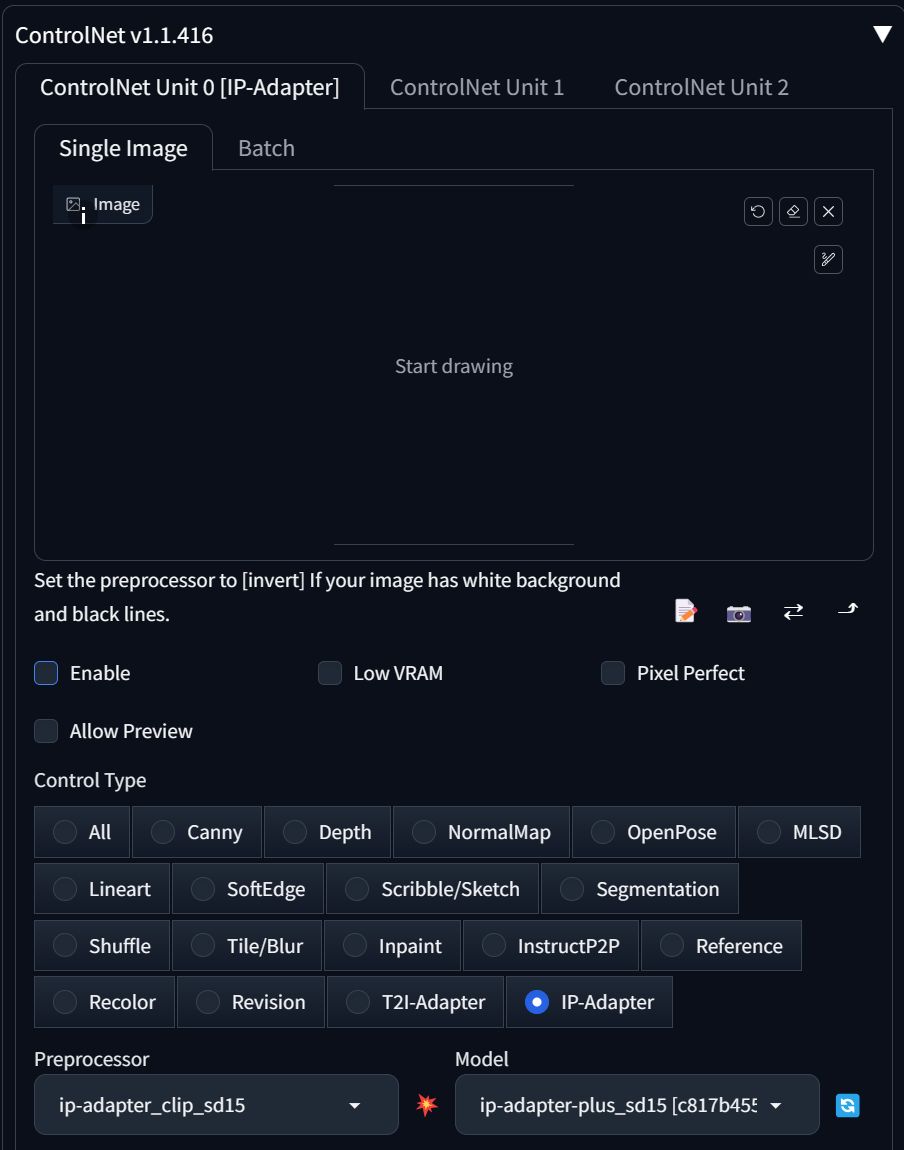
You don't need to enable the controlnet, as it will be automatically done by the ranbooru extension. We just need to add a dummy picture and then we can run the prompt: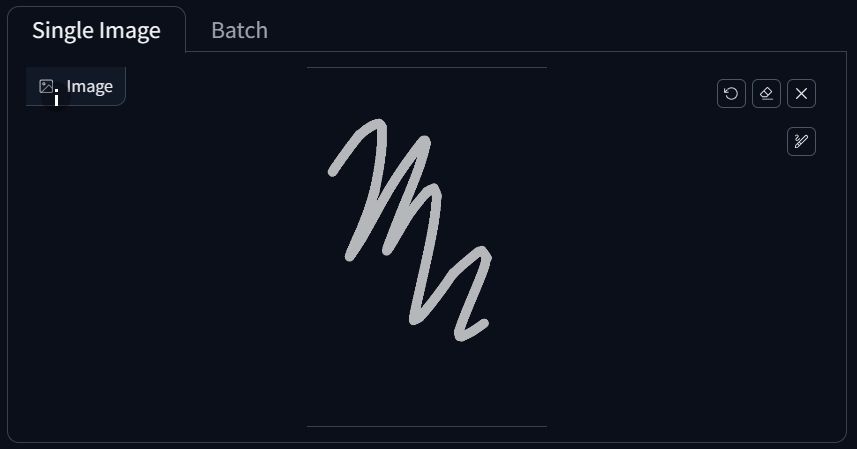
In my case I got this result: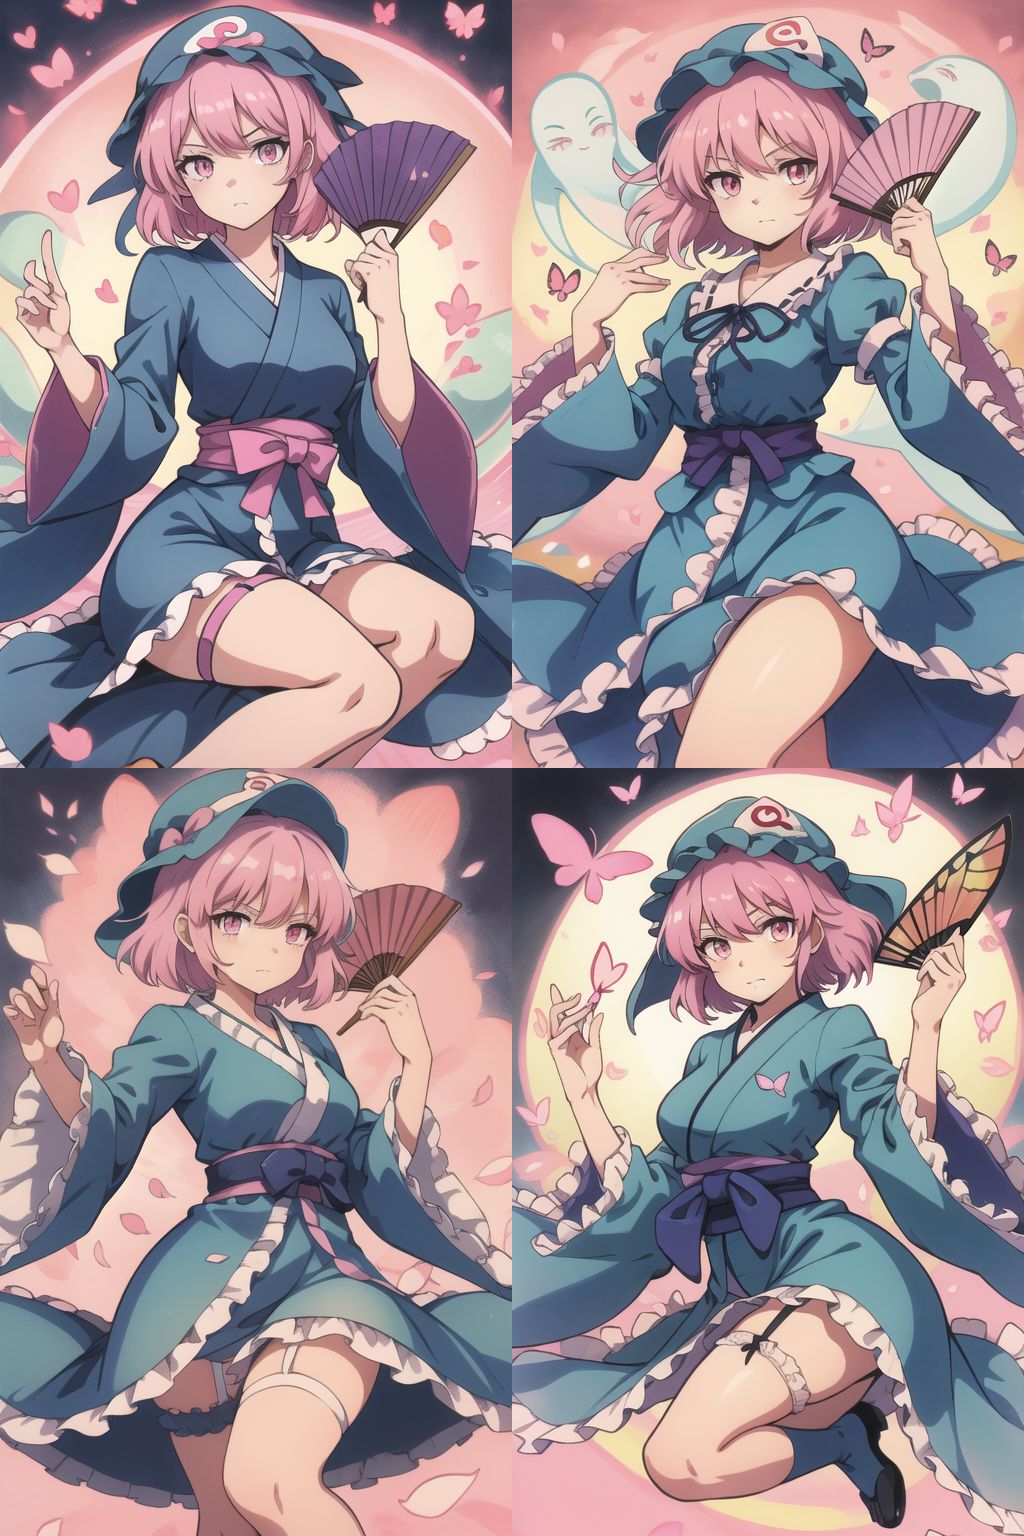
Mixing it up!
If you open the extra tab of the extension, you'll find some experimental tools: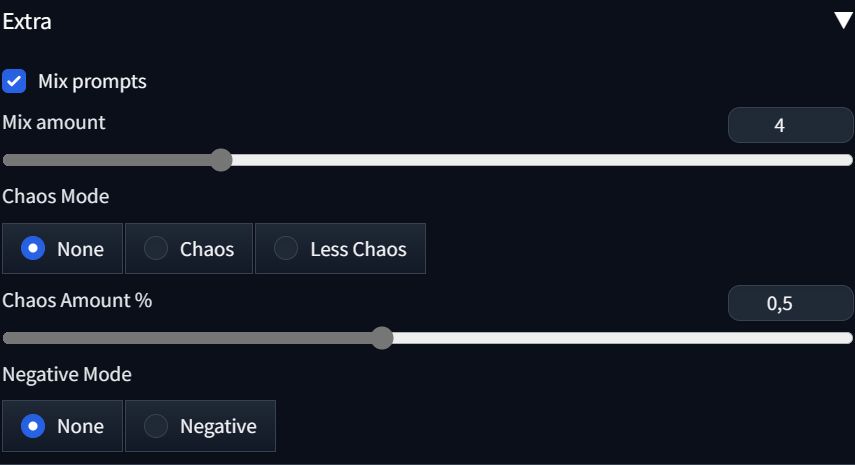
This can be useful to create some variations when searching for a prompt with few results, or if you just want to mix things up.
By enabling the "Mix prompts" option, the final prompt used for a picture will be a mixture of different tags taken from multiple results. keep in mind that in this case the tags limit is applied before the mixing.
For example if I search for touhou characters and I mix 4 posts I can get variations of those characters: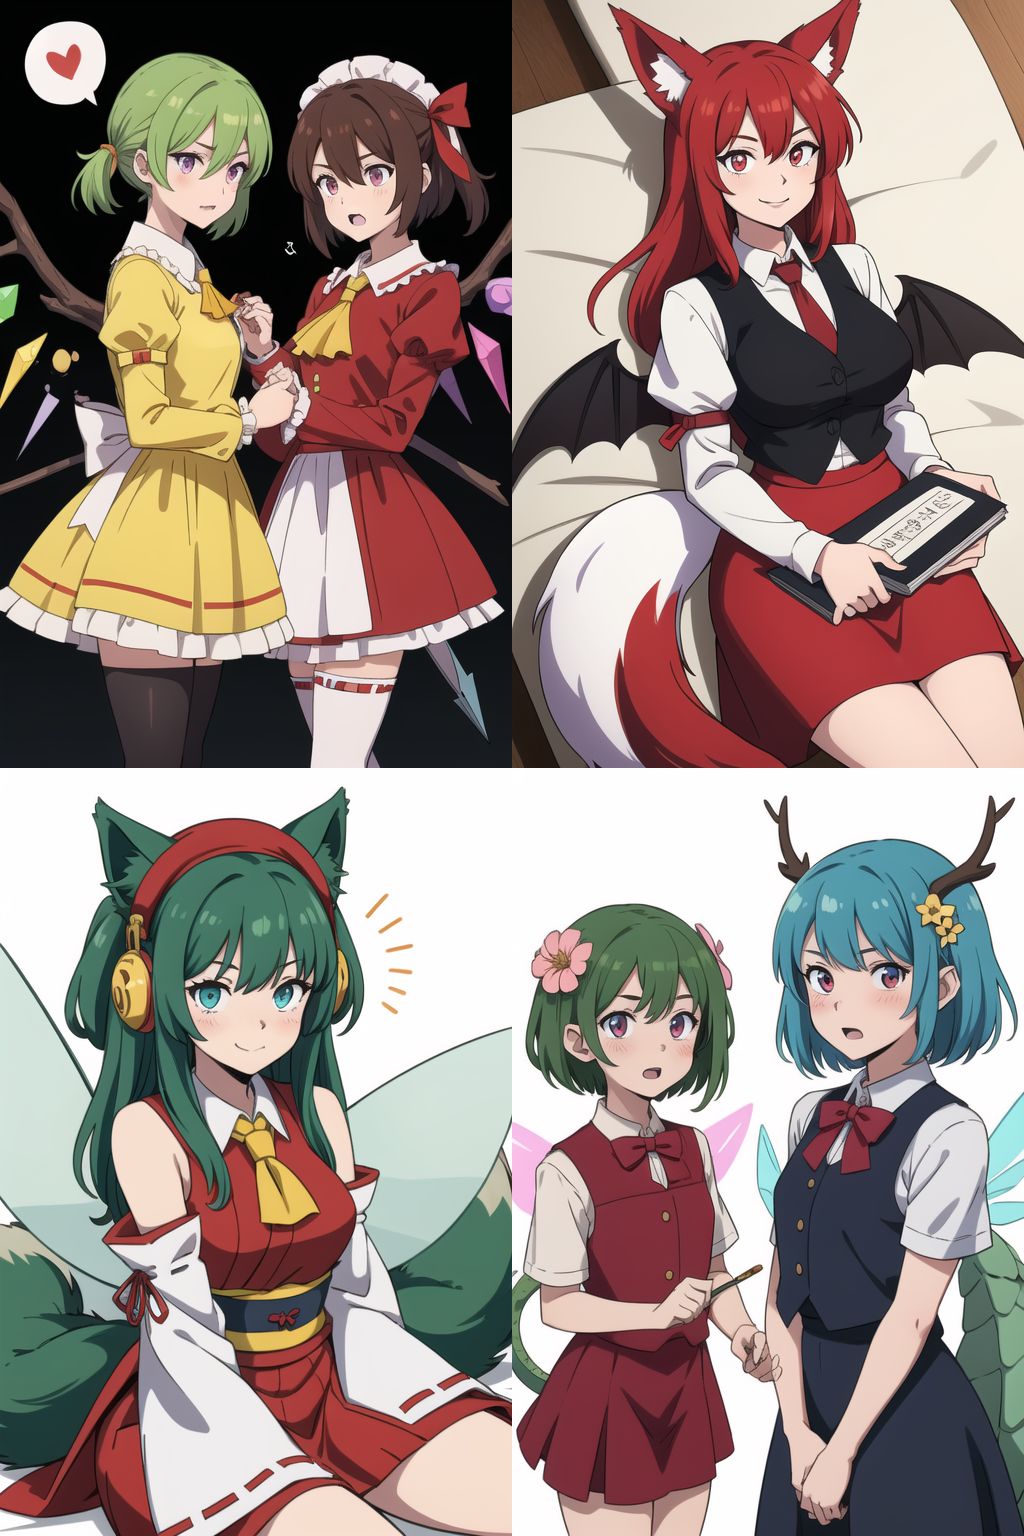
Another interesting feature is the "Chaos Mode". This mixes the tags between the positive and negative prompt. If set to Less Chaos, it won't move the tags from your custom prompt in the negative prompt. This can lead to unexpected results like this one:
The final experimental option is: "Negative Mode". This when enabled, moves all the tags from the prompt into the negative prompt. This usually creates weird pictures: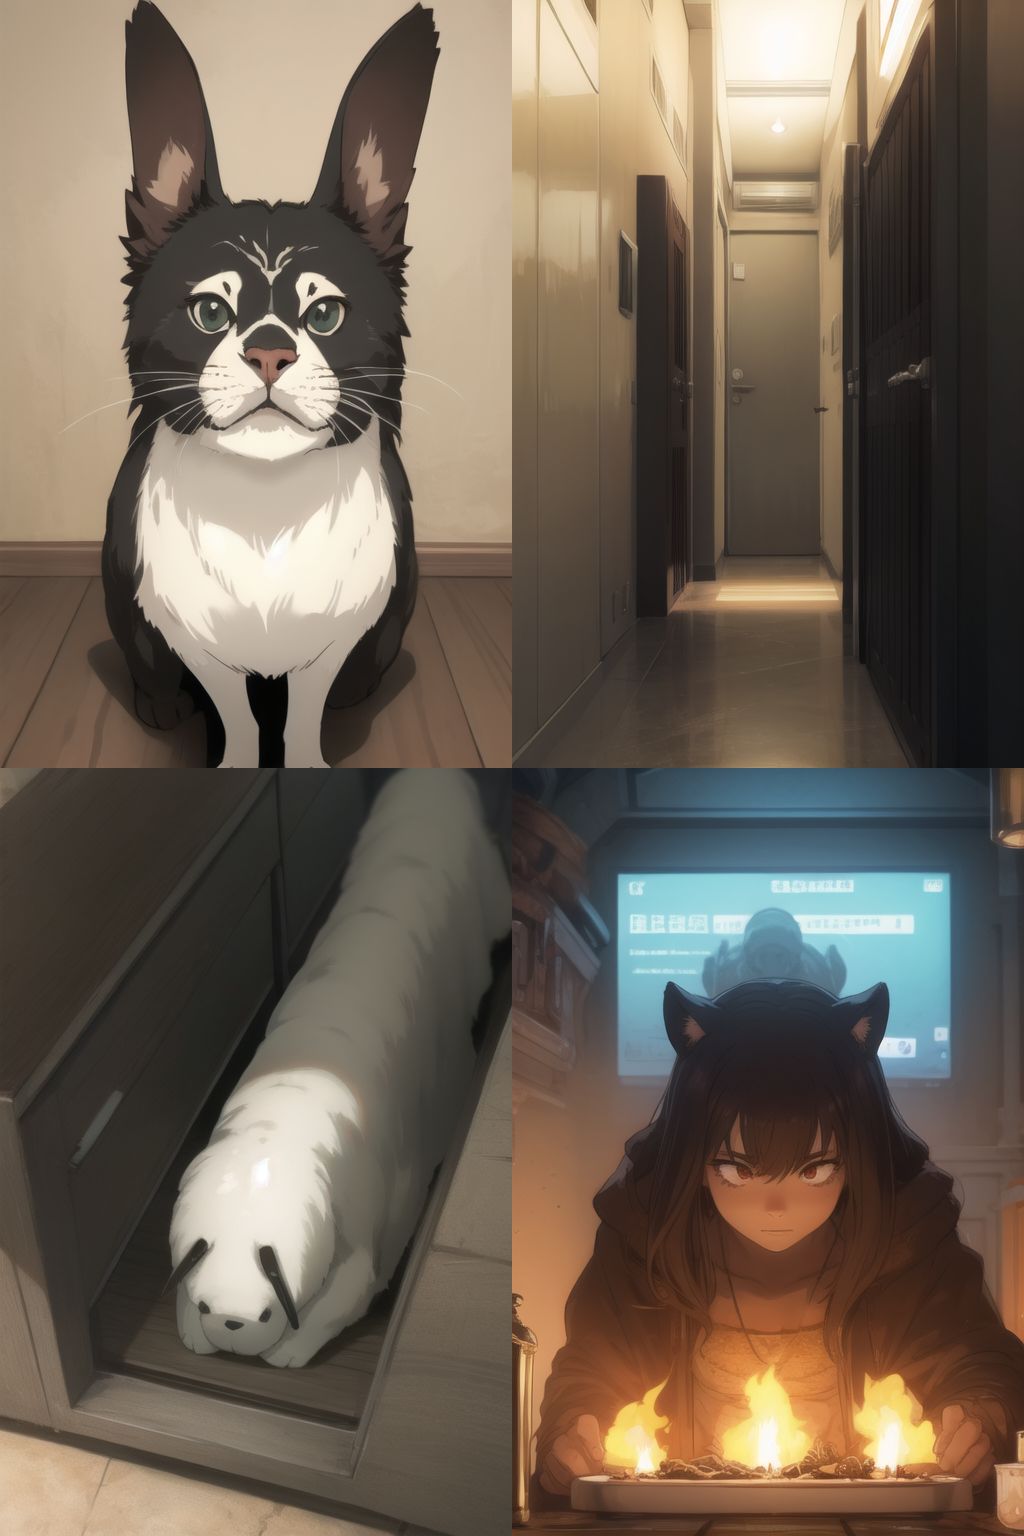
Want new features added?
If you have an idea for a new feature to be added, or you want your favorite booru enabled inside of ranbooru, you can open an issue on the Github repository:
Inzaniak/sd-webui-ranbooru (github.com)
If you have any issue with the extension you can also write there asking for support!
Support Me
I've started developing custom models for myself a few months ago just to check out how SD worked, but in the last few months it has become a new hobby I like to practice in my free time. All my checkpoints and LoRAs will always be released for free on Patreon or CivitAI, but if you want to support my work and get early access to all my models feel free to check out my Patreon:
https://www.patreon.com/Inzaniak
If you want to support my work for free, you can also check out my music/art here: