Introduction
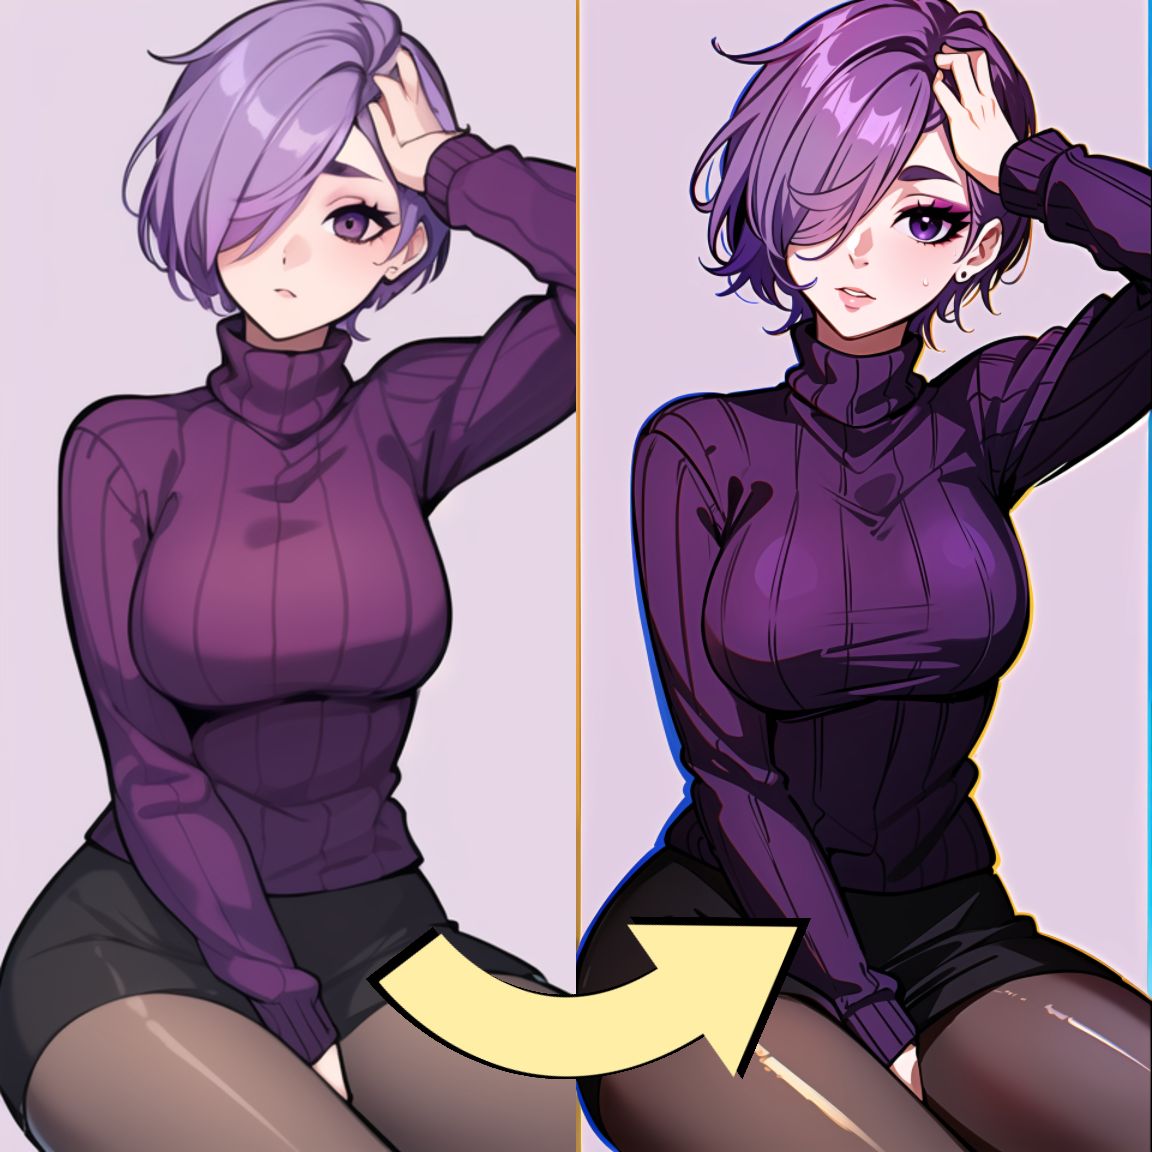
Workflow is an extension I've created with the purpose of streamlining the creation of high quality AI pictures. The original idea behind this extension was to control multiple img2img parameters by just selecting the workflow phase. Since then the extension changed a lot and is now capable of doing a lot of things.
Installation
The Workflow extension is not available in the extension tab of automatic1111, but needs to be installed from Github:
Inzaniak/sd-webui-workflow (github.com)
From there you just need to download the workflow.py file from the scripts folder and put it inside the scripts folder of your Automatic1111 setup. Finally restart the UI and you should find the extension in the img2img tab.
Basic Usage
The main feature for this extension is to streamline the workflow of upscaling/detailing pictures using the img2img features. A lot of people use the Hi-Res Fix to improve the quality of the pictures, but I prefer to create a bunch of low res picture in the txt2img tab and then cherrypick the ones I want to improve using the img2img tab. You can learn more about my workflow (if you want) here: Medium
Setup
The first thing you need to do is to correctly setup the extension. The default config is based on my PC which has an RTX4080 with 16GB of VRAM. So if you have the same amount of VRAM (or more) you are good to go.
If not you'll need to open the performance section of the extension: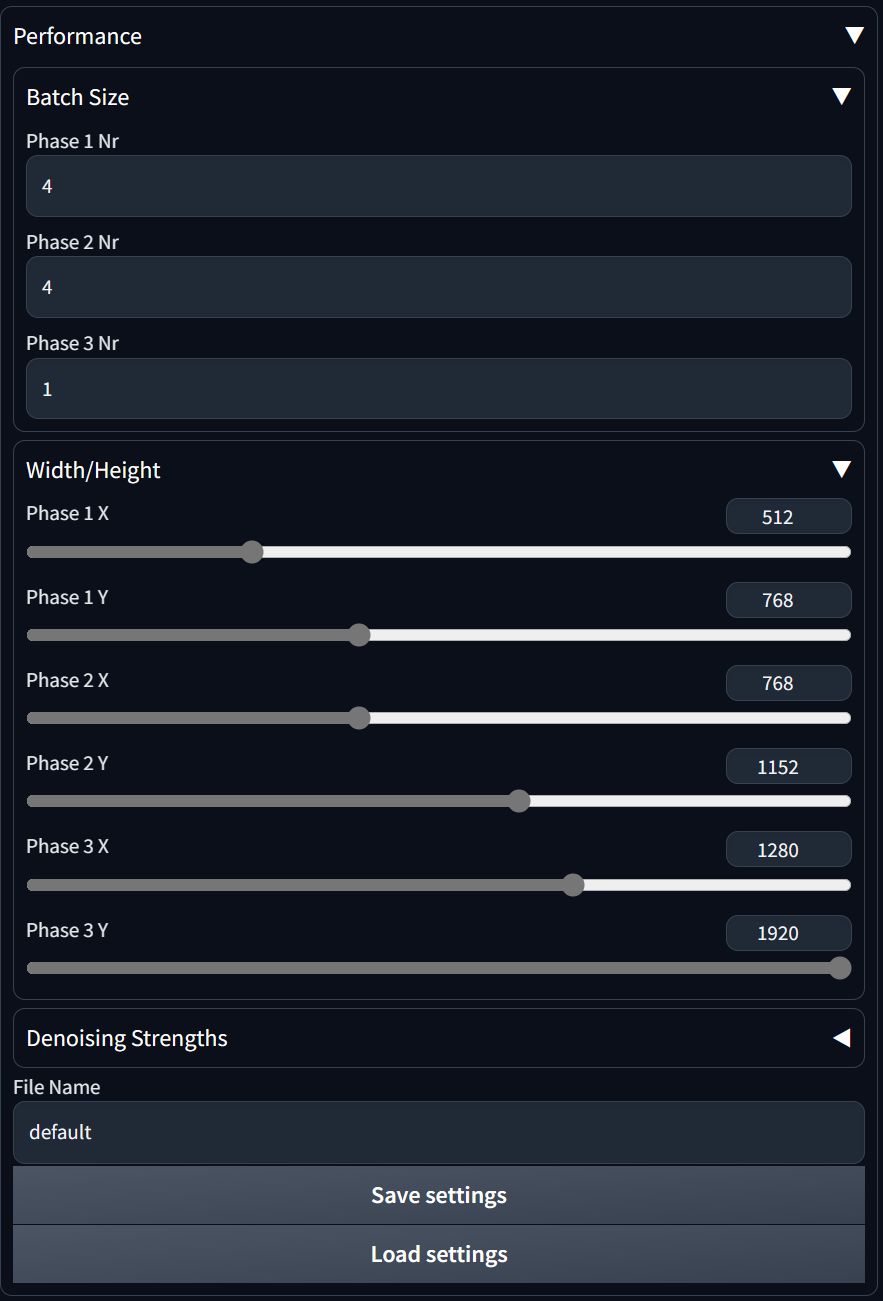
From here you can change the amount of pictures created in each step and their resolution.
For example, if you take a look at the above settings, you'll see that:
- Phase 1 equals to 4 pictures 512x768
- Phase 2 equals to 4 pictures 1152x1280
- Phase 3 equals to 1 picture 1280x1920
Change these as you need and then click on save settings (you can also specify a different name if you want)
You can also change the denoising strength of each step by changing it in the Denoising Strenghts section.
Simple Workflow Example
Let's say I've created this picture using the txt2img tab, and I want to improve its details: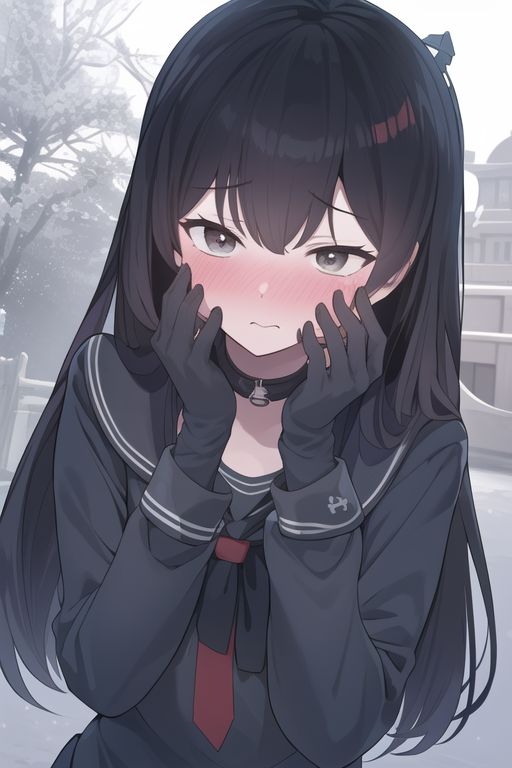
We take the picture to the img2img tab, we open the workflow panel, we select the second phase (labeled 1152), and finally we run the generation: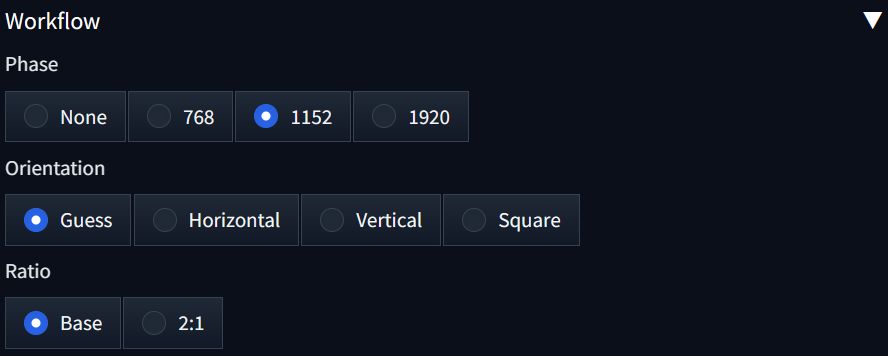
We now choose the best of the generated pictures (or run the generation again until satisfied):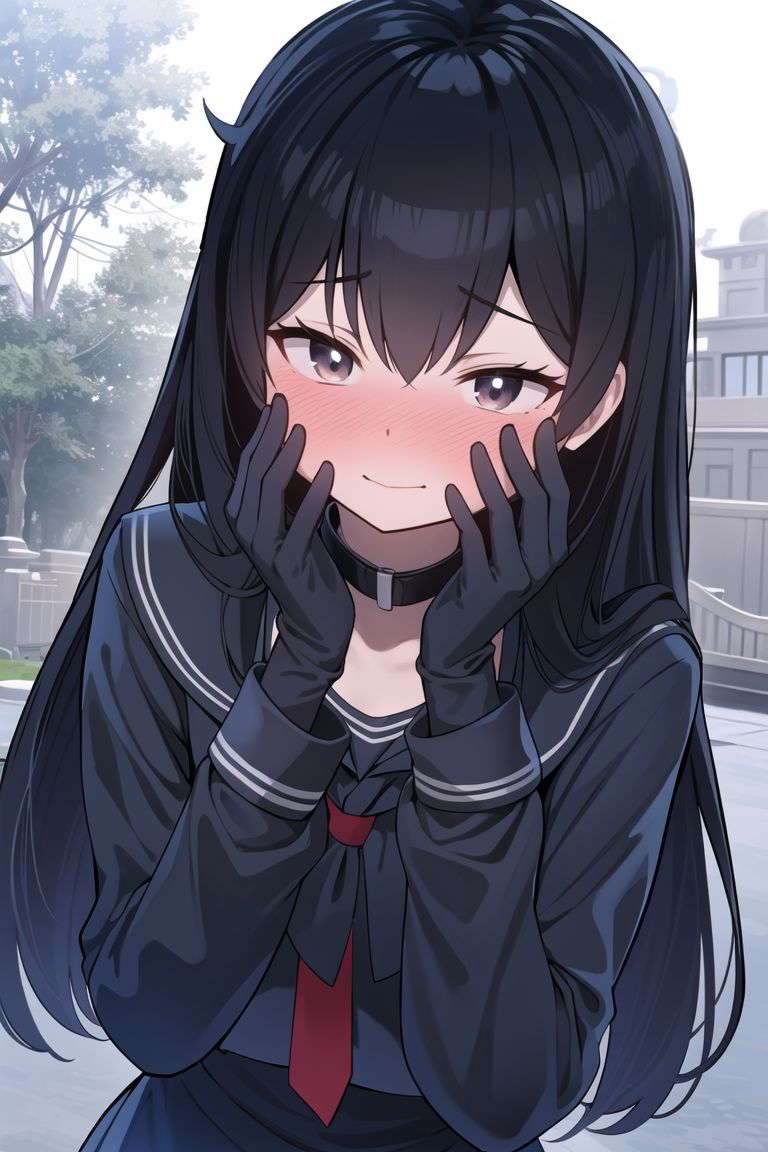
We send this back into the img2img source, select the Phase 3 (1920) option, and run the generation again: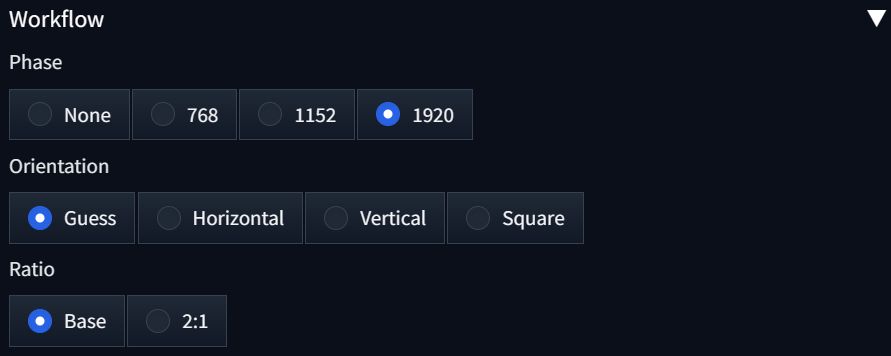
The final result: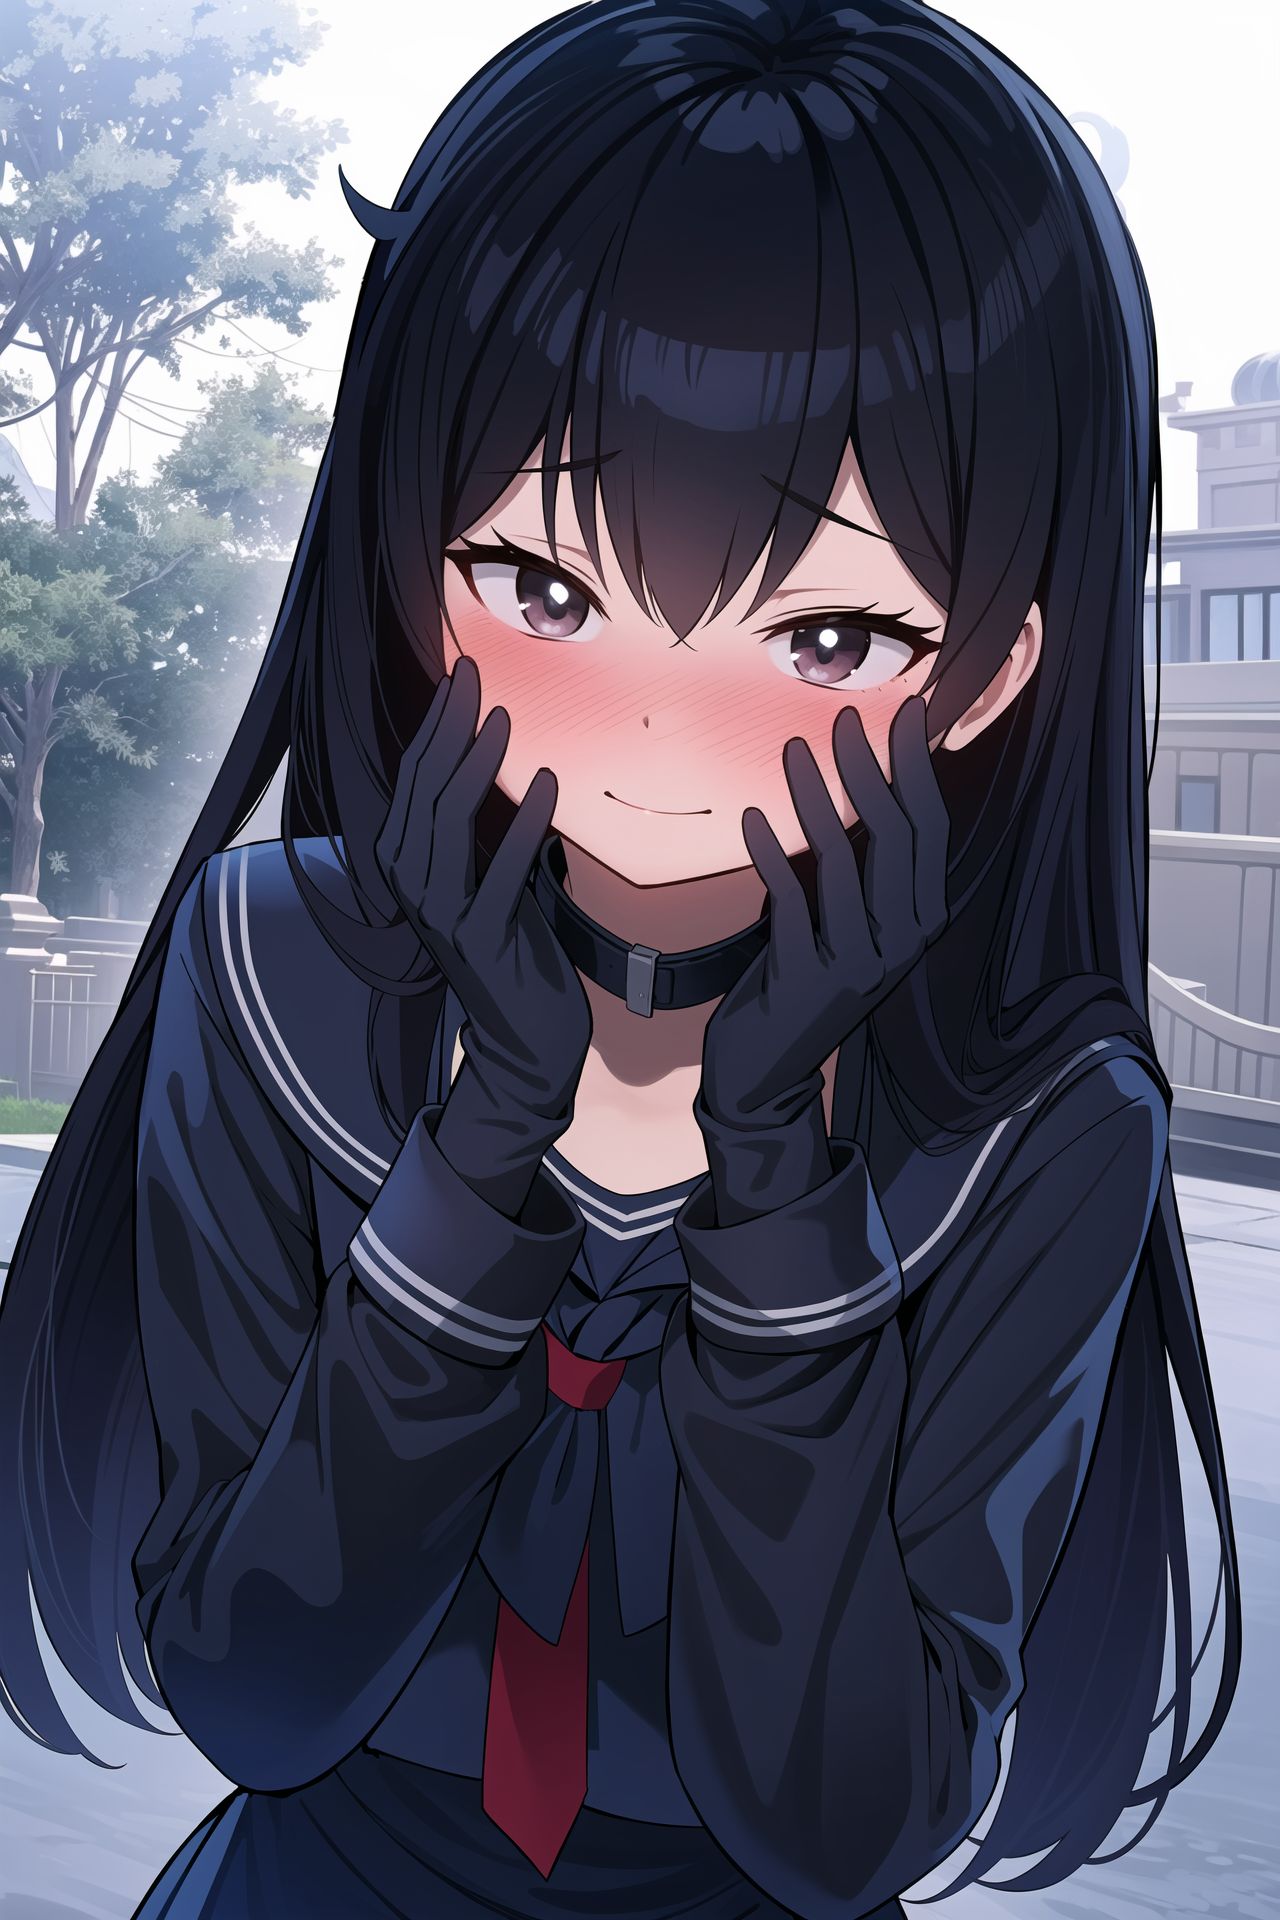
Working with different ratios/orientations
By default the extension is capable of understanding the orientation of a picture. If you take a look at its options you'll see: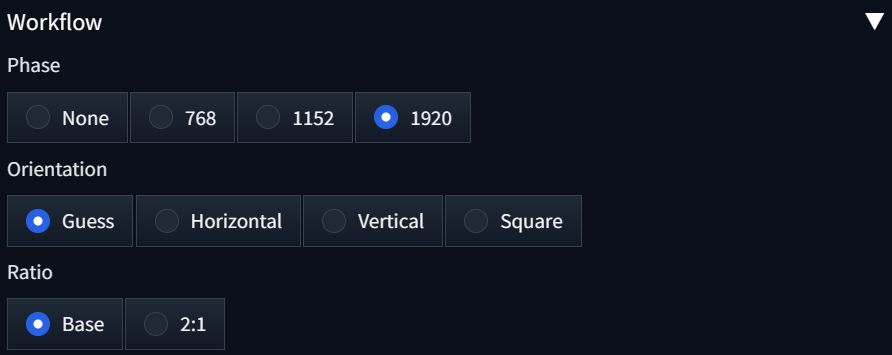
Orientation:
- Guess: this means that the extension will guess the orientation based on the source picture
- Horizontal: this means that the height and width set in the config will be inverted
- Vertical: this means that the height and width defined in the config will be used
- Square: this means that the highest value between height and width will be used for both
Ratio:
- Base: this means that the height and width defined in the config will be used
- 2:1: this means that the configured height will be used, while the width will be half of that value
Extra Features
The v2 of the extension adds a huge amount of new features useful for image creation. Here's a quick explanation of what each feature can be used for.
Quick Mask
Using the workflow panel you can choose to automatically create a mask for the picture based on a color and a threshold and apply any of the effects.
Let's say we have this picture: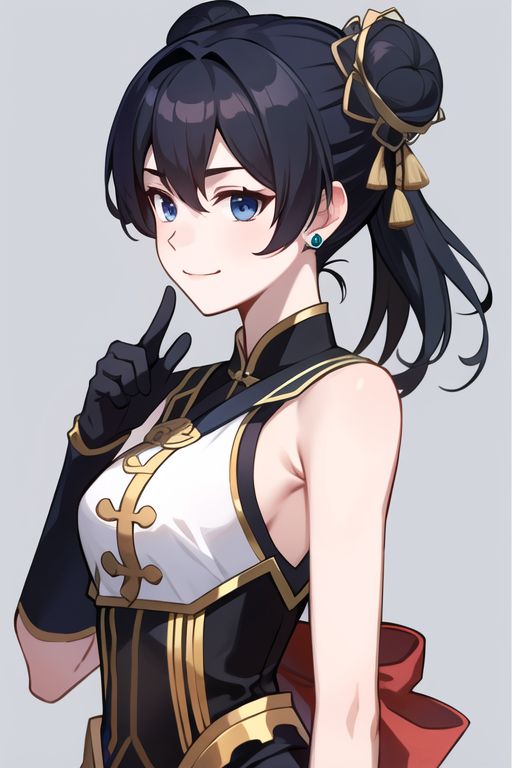
And we want to quickly change the background. We just need to open the mask section of the workflow extension: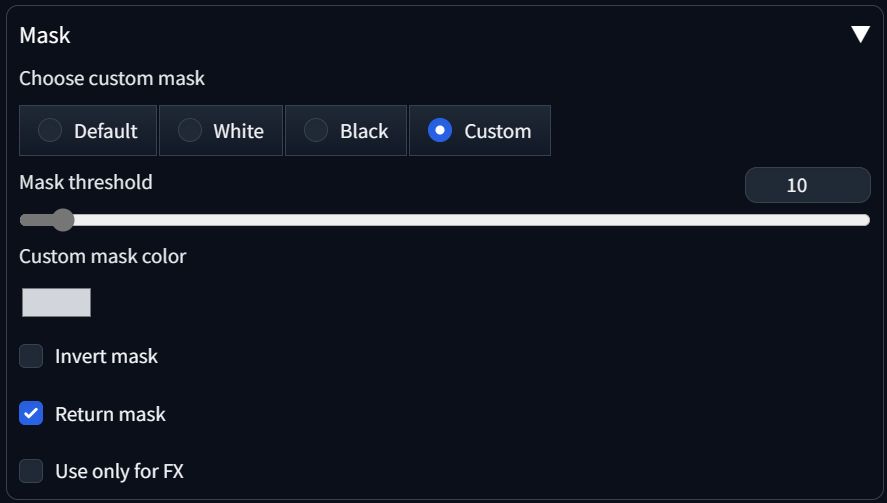
From here we can select a few things:
- Custom mask:
- Default: uses the inpaint mask if exists otherwise does nothing
- White: creates a new mask based on the white color
- Black: creates a new mask based on the black color
- Custom: creates a new mask based on the Custom mask color defined below
- Mask threshold: if value is set to 1, only the selected color will be pick. When set higher more similar colors will be considered
- Custom mask color: here you can set the color you want to use as a mask
- Invert mask: inverts the mask selection
- Return mask: returns the mask as a picture
- Use only for FX: the mask will only be used to apply the Workflow extension effects
Now that we have setup the mask correctly let's go to the Extra/Overlay tab: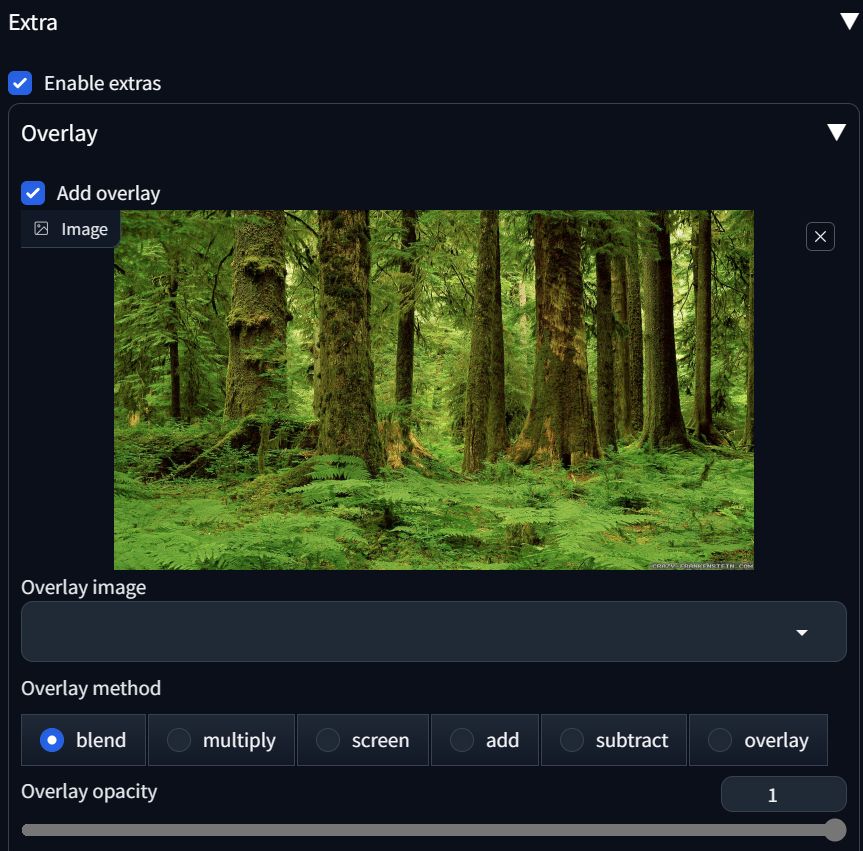
From here we can paste the picture we want to apply as a background (I'm going to use a picture of a forest). We also have other options:
- Overlay Image: This is a quick way to select pictures from the scripts/workflow/overlays folder in your automatic1111 folder.
- Overlay Method: this changes the way the overlay is applied to the pictures. These works the same as they would in any picture editing program (as Photoshop)
- Overlay Opacity: this changes the opacity of the overlay applied
Finally, if we run the generation we get (remember also to change the prompt!):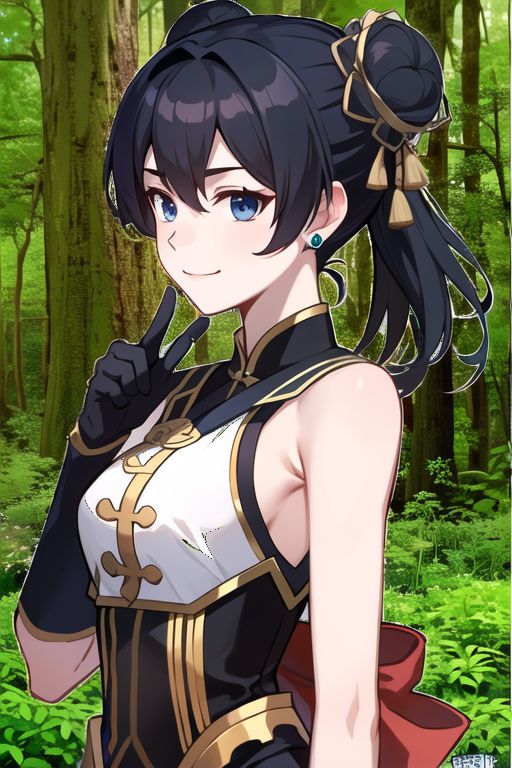
To improve the quality of the pictures we just need to pass this again to the Workflow extension using the Phase 2 selector (1152). Remember to disable the mask and overlay options!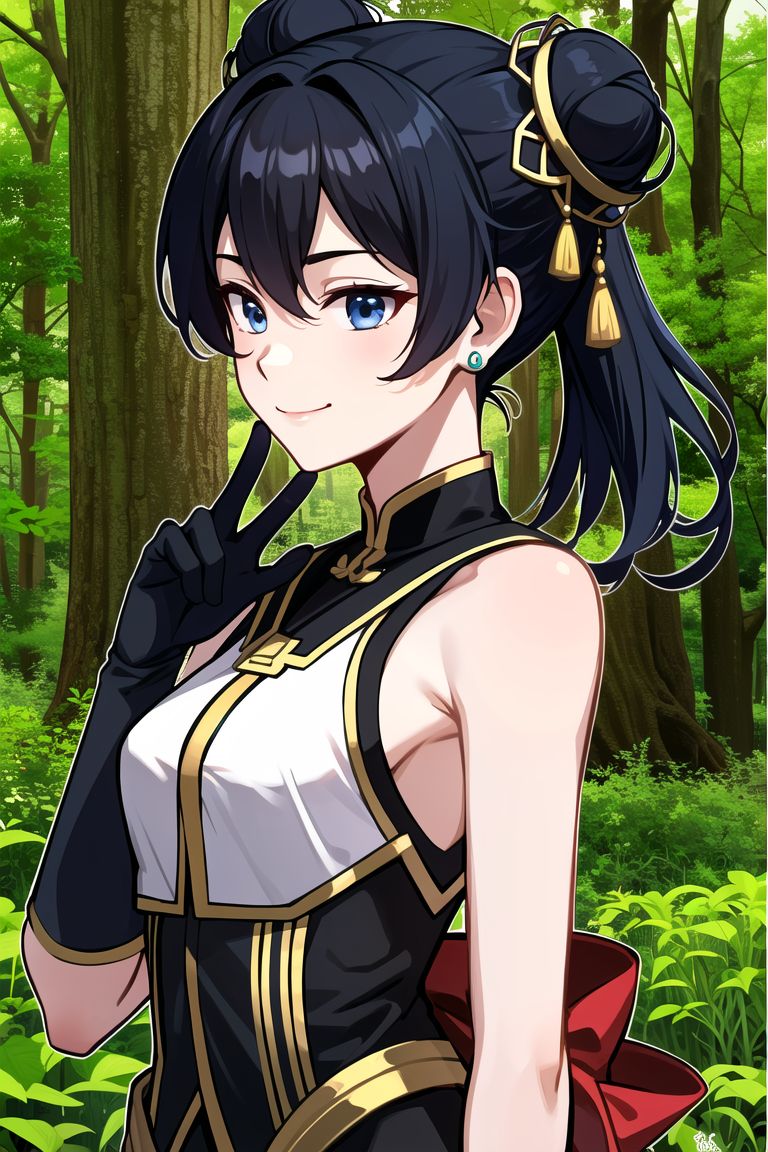
We could have avoided the white borders by increasing the mask threshold.
Swap Pixels
The basic idea for this feature is that each pixel of the input picture is moved at random from the original position by 0-N pixels (where N is defined using its slider). This can create interesting effects.
For example, let's say we have generated this picture: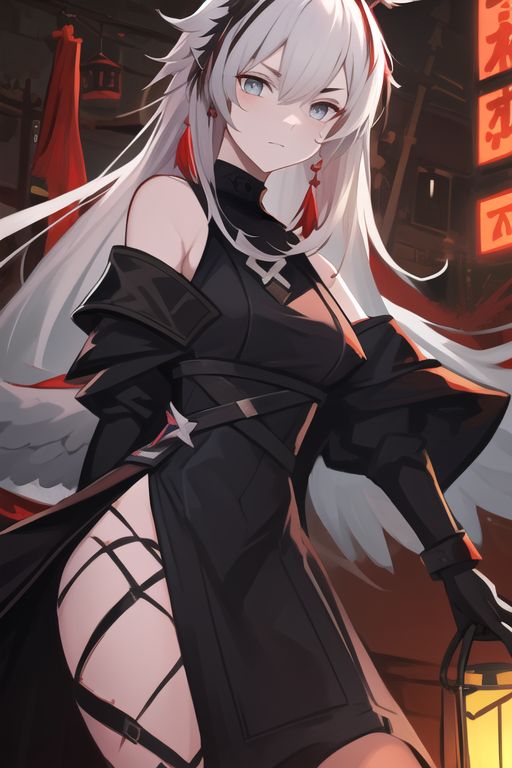
If we go to the Extra/Swap Pixels menu: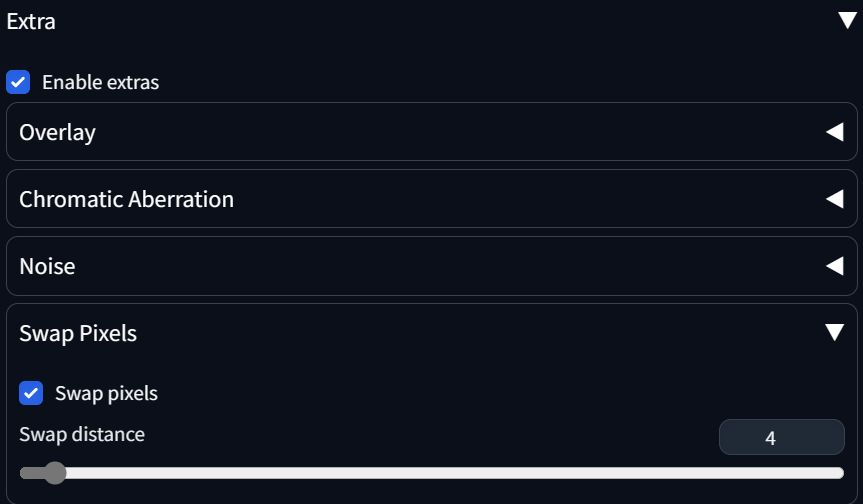
In this case you just have one option which defines the maximum distance for the pixels to be moved. Let's run this generation using Phase 2 (1152):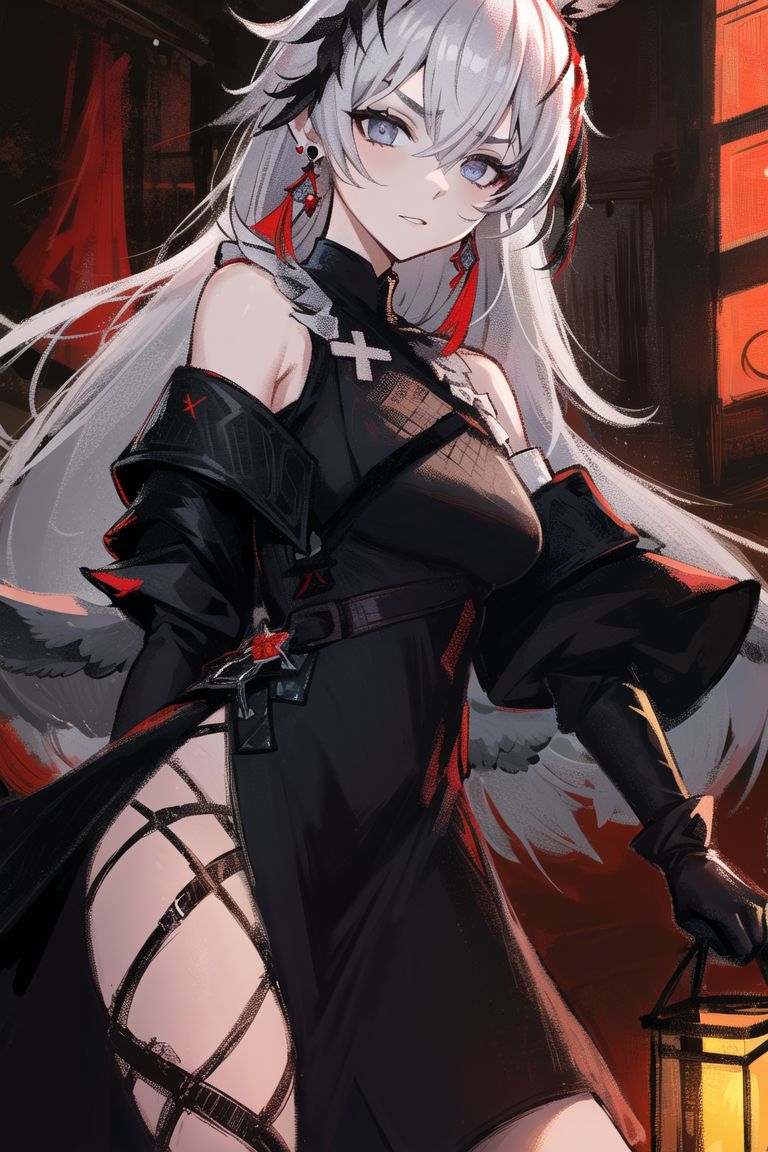
As you can see the result has a totally different aesthetic than the original one! This effect can be incredibly useful when creating pictures with a hand-drawn/sketch style.
Chromatic Aberration
This feature is pretty straightforward, it just applies the chromatic aberration effect on the picture based on the amount defined in the Extra/Chromatic Aberration menu: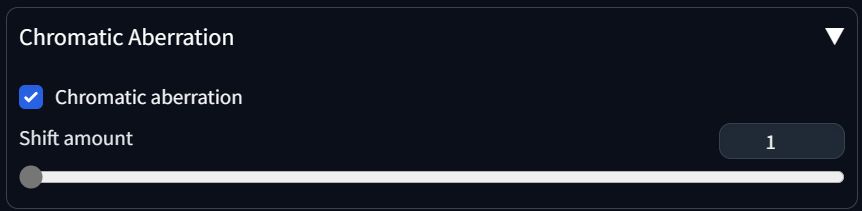
And here's an example of the effect: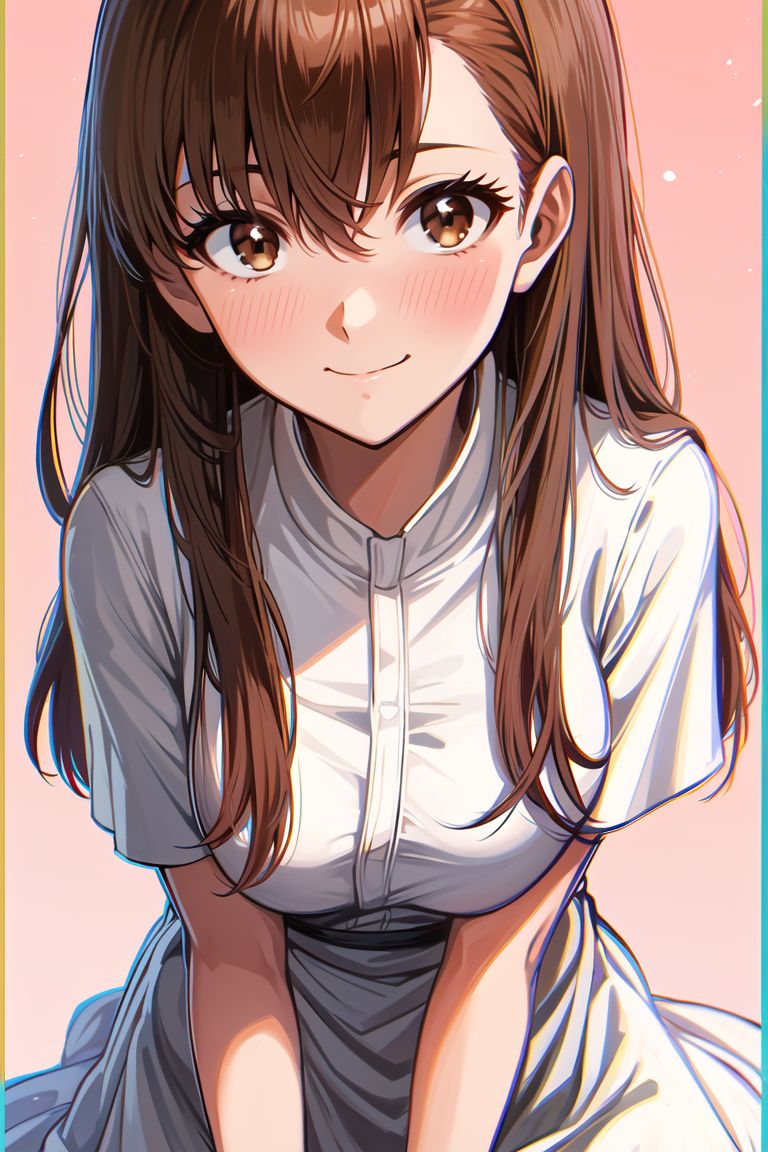
Add Noise
This feature can be useful for a few things:
- Adding noise to a specific part of a picture can be useful to create variations of an object or a particular piece of clothing
- Adding noise to the background can create interesting gradients and patterns
- It can be used to quickly change the color of something when combined with a mask
For example, using this picture: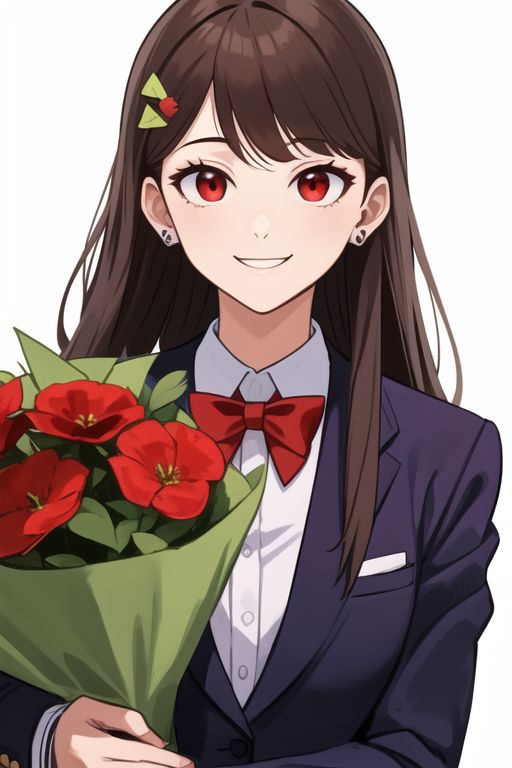
We can quickly change the background to a different color by selecting the white mask using its tab: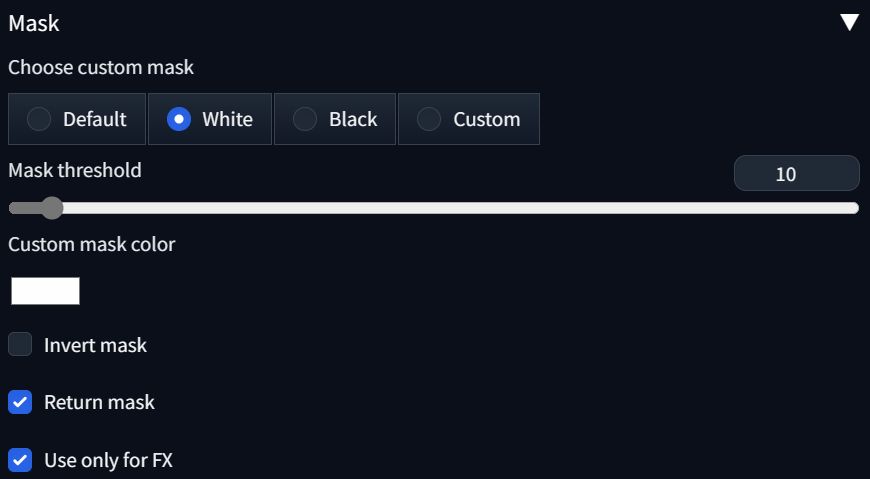
And then add some colored noise to the mask: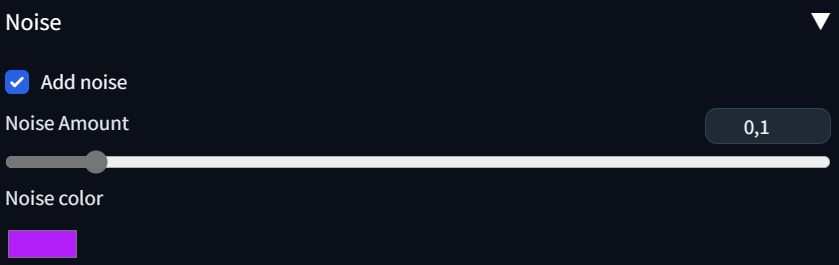
We can now change the prompt to include: "purple background" and run it: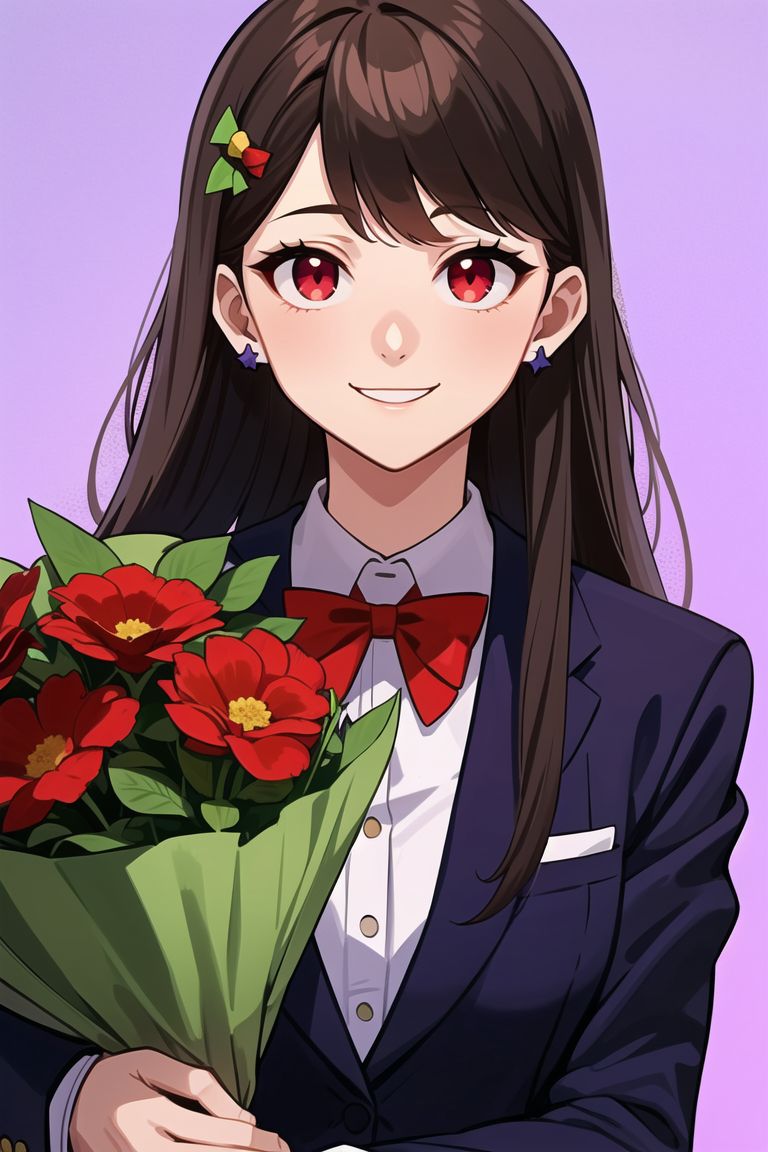
Flip
The flip tab gives you the ability to quickly flip a picture based on its horizontal/vertical axis: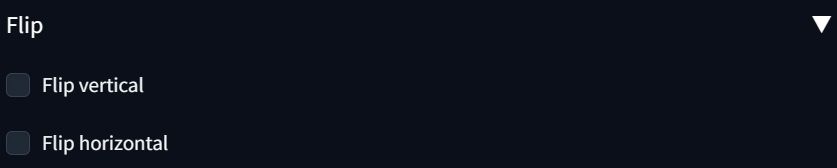
Blur
This option supports three different types of blur:
- Gaussian
- Box
- Median
Here's an example: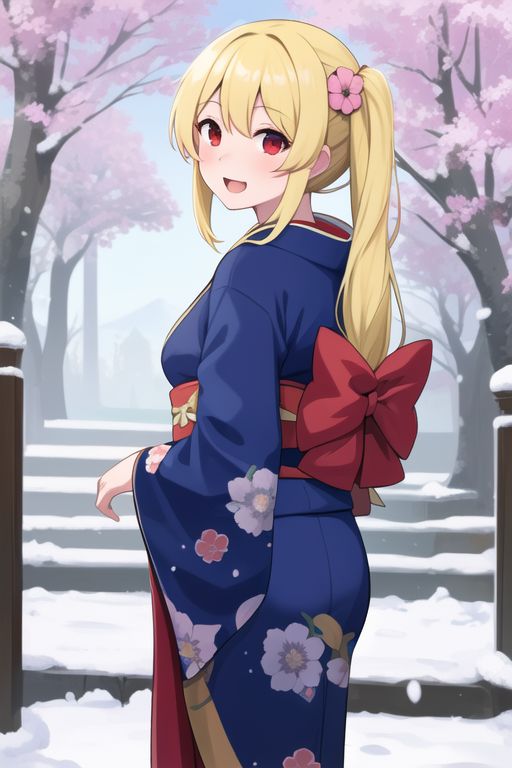
If we mask the background using the inpaint tab: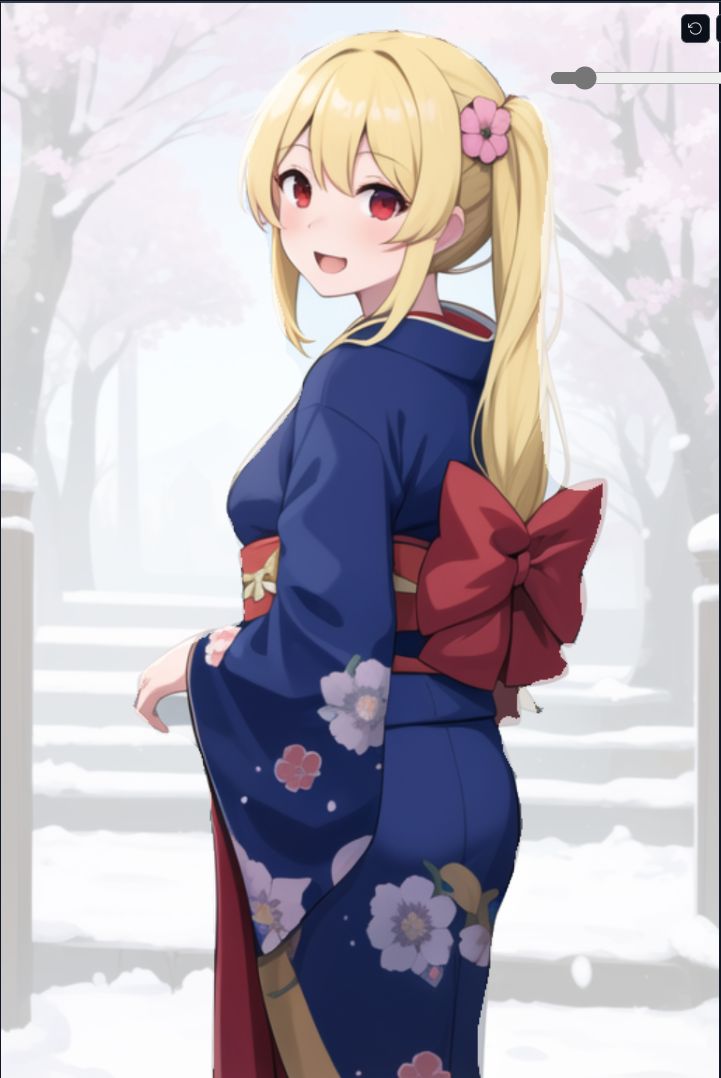
And select Blur -> Gaussian: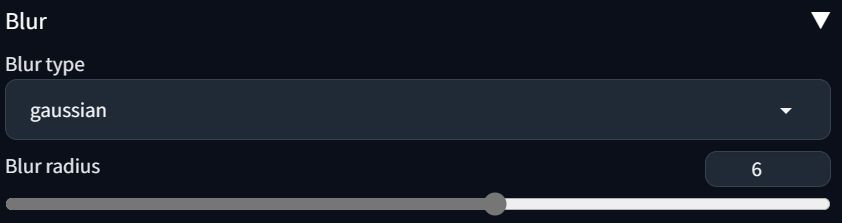
We get a picture similar to this one: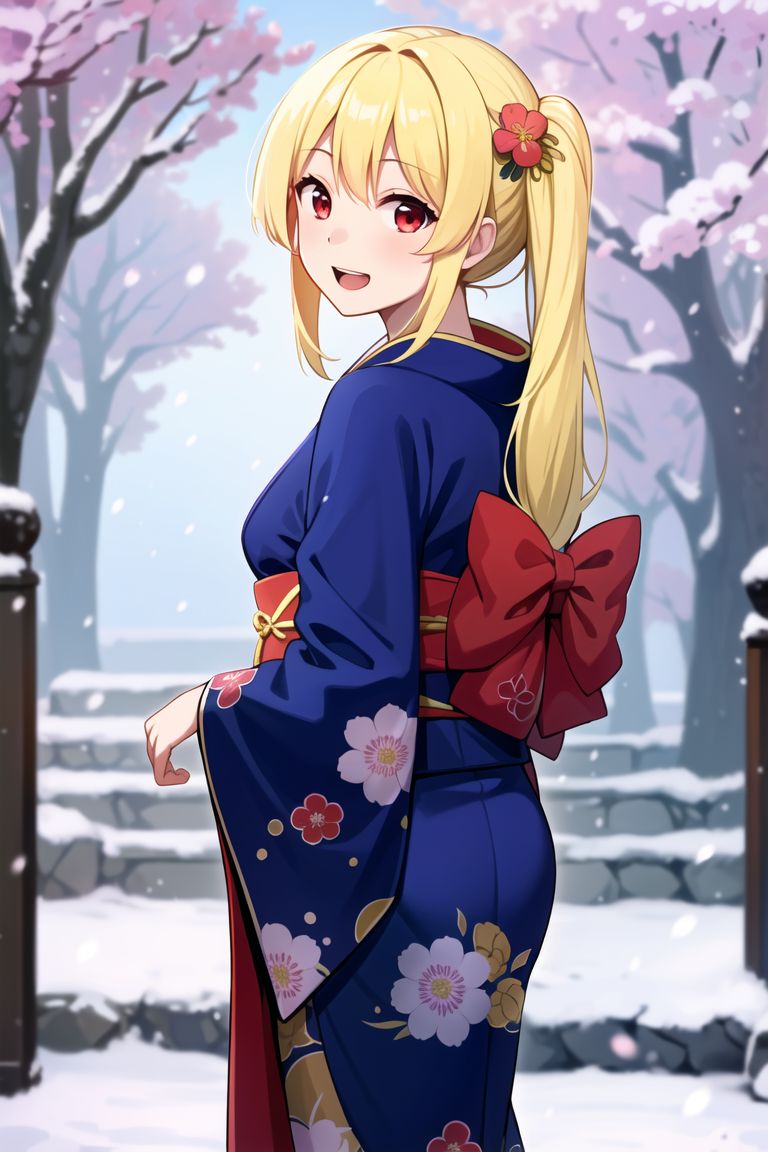
Sharpen
This function can help you improve the quality of a blurry picture.
You have different settings to work with:
- Sharpen Radius
- Sharpen Percent
- Sharpen Threshold
For example, using this picture: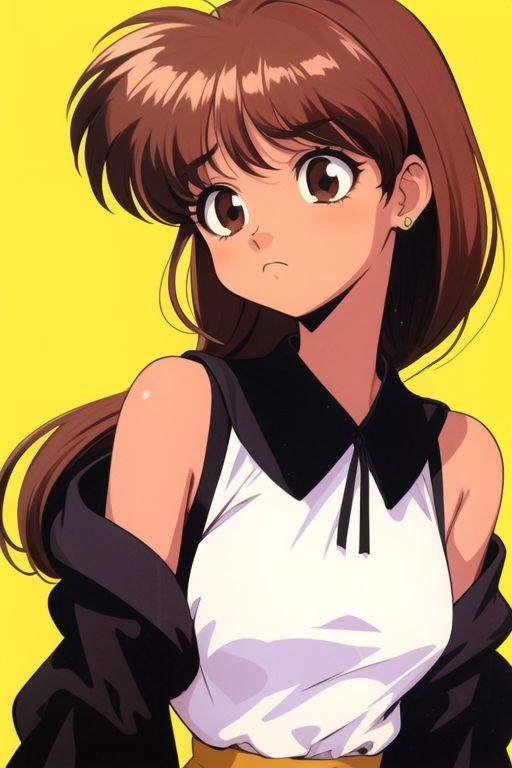
By enabling the sharpen effect: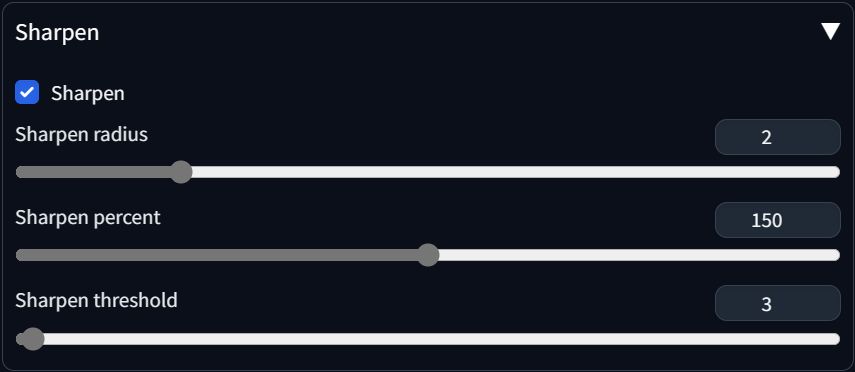
You'll get something similar to this: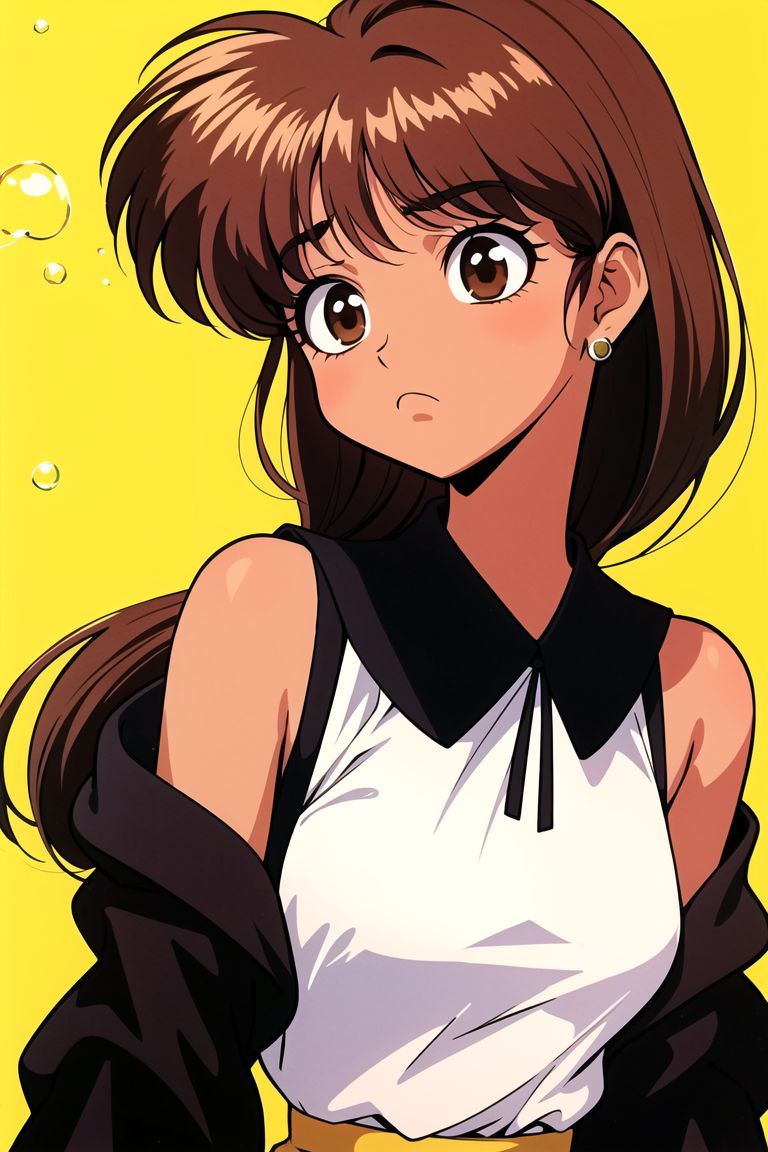
Want new features added?
If you have an idea for a new feature to be added, or you want your favorite booru enabled inside of Workflow, you can open an issue on the Github repository:
Inzaniak/sd-webui-workflow (github.com)
If you have any issue with the extension you can also write there asking for support!
Support Me
I've started developing custom models for myself a few months ago just to check out how SD worked, but in the last few months it has become a new hobby I like to practice in my free time. All my checkpoints and LoRAs will always be released for free on Patreon or CivitAI, but if you want to support my work and get early access to all my models feel free to check out my Patreon:
https://www.patreon.com/Inzaniak
If you want to support my work for free, you can also check out my music/art here: